How Many Coats of Polyurethane on Table? Determining Factors
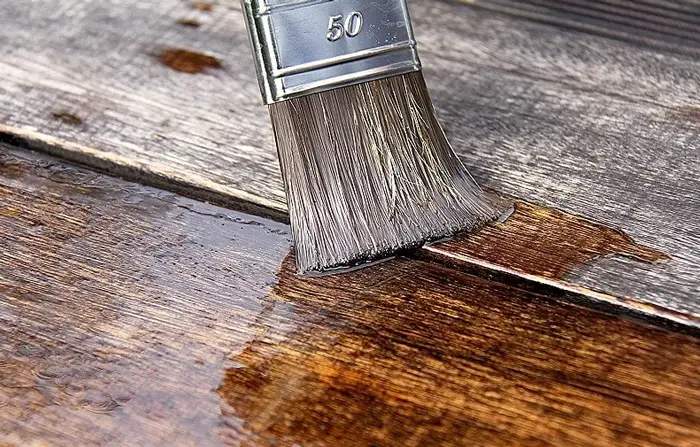
Kitchen and dining tables are among the most used in a house and require a strong coating to protect against scratches, stains, and moisture. The commonly used finish is polyurethane, which is easy to apply and creates a beautiful, armor-like finish.
But how many coats of polyurethane on table are required? In most cases, three coats are usually enough to protect your table. However, various factors, including the type of wood, polyurethane, and your personal preferences, determine how many coats to use.
The article discusses these factors to help you decide the number of coats to use on your project. Also, there are helpful tips to help you apply and maintain a polyurethane table.
How Many Coats of Polyurethane on Table?
Usually, two or three coats are enough to provide enough protection to the table without overcrowding it. However, the number of coats to use varies depending on the various factors.
Polyurethane is among the most commonly used coatings on most furniture and wooden floors in most homes. Thanks to various ingredients used, including polyurethane resin and solvents.
Tables, particularly kitchen and dining tables, usually need surface protection to stay in good shape for a long time. Their best form of protection is usually several coats of polyurethane.
Factors That Determine the Number of Polyurethane Coats to Apply on a Table
The following are factors that determine the number of coats to add when working on a table. They include;
1. Wood Type
The type of wood used to make your table is among the determinants of the number of polyurethane coats to use on your table. Different types of wood vary in density, hardness, and porosity levels.
Hard and dense woods like walnut and mahogany require a few layers of coats as they are less likely to absorb polyurethane. However, softer and porous woods require more coats because the wood will absorb the first few layers.
2. Table Top Condition
The level of imperfections on the tabletop will also determine the number of polyurethane coats to use. If the tabletop has too many imperfections, including scratches and dings, it will require more coats.
However, you can prepare the table by sanding it to create a flatter surface and use fewer coats.
3. Level of Protection
The level of protection you require on your table will also determine the number of coats to apply. More polyurethane coats are ideal for better protection against scratches, spills, and other damages. More coats equal more protection as more levels of protective layers.
However, you can use fewer coats if the table is not frequently used and doesn’t require much protection. Also, some people apply polyurethane to enhance the table’s appearance. In this case, a few coats are enough for this.
4. Type of Polyurethane
The type of polyurethane to use is another determining factor in the number of coats to use. The two commonly used types of polyurethane are water-based and oil-based polyurethane.
Water-based polyurethane is usually thinner, which affects the level of its protection on wood. In this case, you need to use more coats to achieve the same level of protection you would have used on an oil-based polyurethane.
How to Apply Polyurethane Coat on a Table
In some cases, your table may not look decent or satisfactory after applying the polyurethane coat. The following steps should help you avoid this and produce better results.
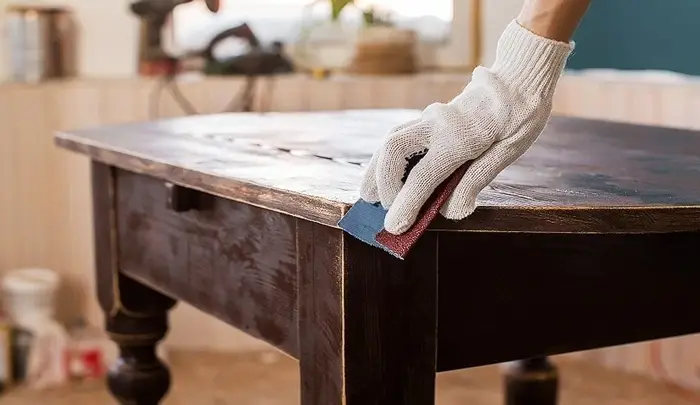
Step 1: Prepare the Table by Sanding
Begin by sanding the table before you start applying the polyurethane coats. Sanding ensures the surface is level and smooth, which also means you can use fewer coats. Afterward, clean the table with a cloth to get rid of dust.
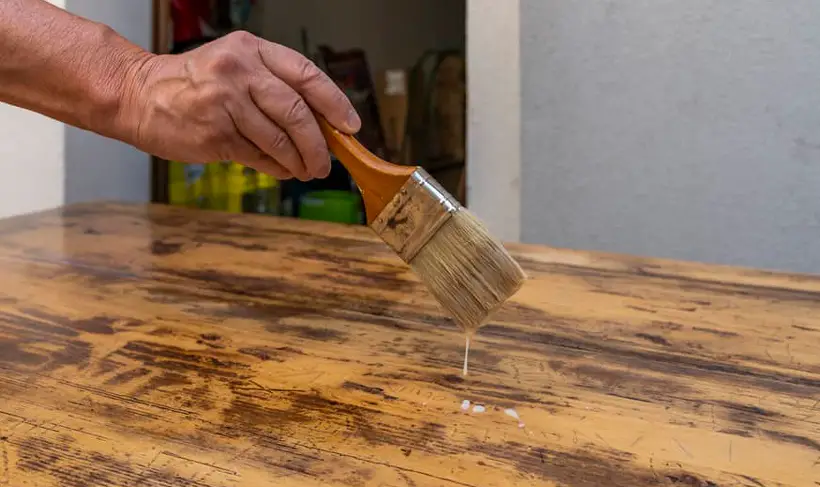
Step 2: Mix the Polyurethane Finish
One of the reasons the finish appears rough on the table is due to the need for proper mixing before application. Mix the polyurethane finish thoroughly to ensure all the solids are evenly distributed.
Step 3: Allow Each Coat to Dry
Before you apply the next coat on the table, ensure each coat completely dries. The time it takes varies with the type of polyurethane finish used. The time is usually between 4 and 24 hours, but each manufacturer includes their ideal time in the instructions.
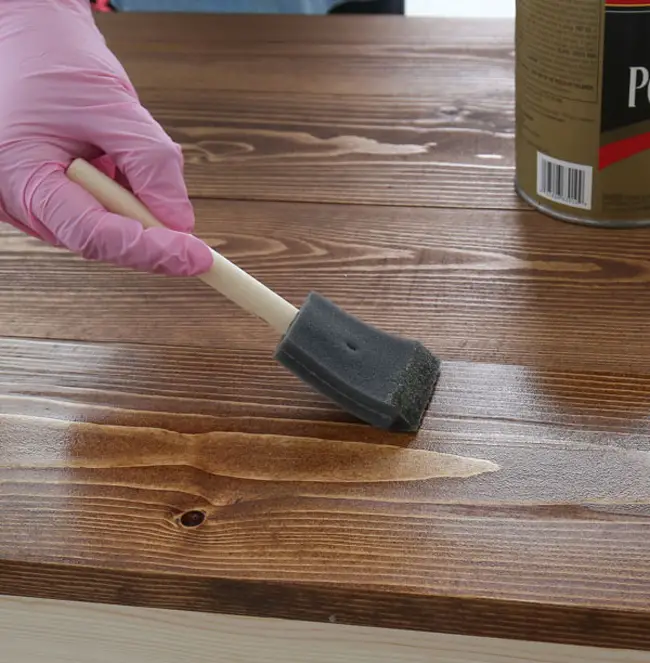
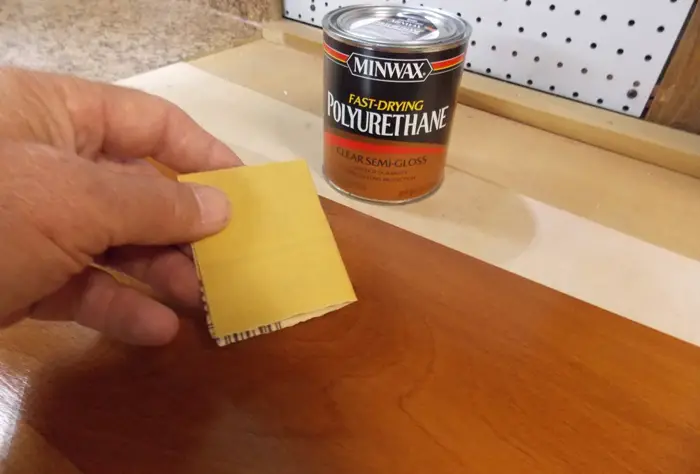
Step 4: Sand Between Coats
Sand between each coat to remove imperfections and allow the next coat layer to adhere better. However, wet sanding is recommended rather than dry ones to wash away grits. Fixing defects earlier ensures the final layer is smooth and even.
Step 5: Buff the Final Coat
Using fine-grit sandpaper, remove any imperfections on the final coat. Afterward, buff it with a clean, dry cloth or polishing pad to ensure the final coat is shiny and smooth.
Mistakes to Avoid When Applying Polyurethane Finish on a Table
There are various mistakes people make when applying polyurethane finish on a table. These mistakes are the reasons the final piece appears blotchy and uneven. The mistakes to avoid include;
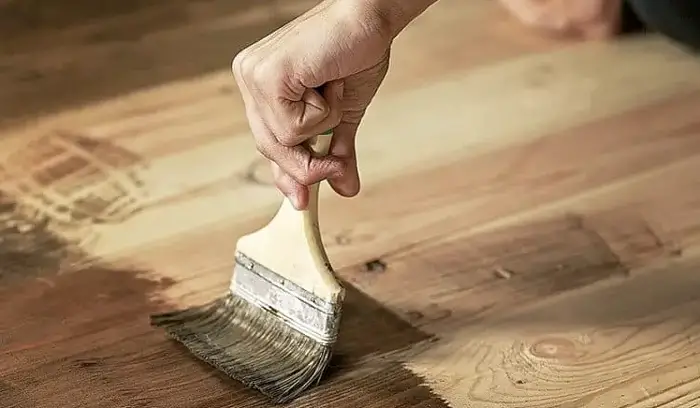
1. Using Wrong Brush
An ideal brush should be soft and flexible to ensure a smooth and even finish. Using a hard-bristled brush can cause visible brush marks in the polyurethane finish, creating an uneven rough surface.
2. Using the Wrong Polyurethane Finish
The two types of polyurethane finish have different effects on the table. For clear wood types, it’s ideal to use a water-based polyurethane finish, which doesn’t change color after drying. Darker wood types can use an oil-based finish, which enhances their appearance.
However, you may need to use a water-based finish to avoid various solvents in the finish, like Ethylbenzene compounds. They can cause respiratory problems, especially in sensitive people.
3. Applying Thick Coats
Another common mistake to avoid when applying the polyurethane finish is applying thick coats. The thick coats can result in dribs and bubbles, and the final surface is usually uneven.
4. Working in a Dusty Environment
The polyurethane application process needs to be in a well-ventilated and clean environment. Dust can settle on the wet surface and mar the finishing, causing rough patches and bumps.
Also, some Polyurethane finishes contain VOCs like Toluene diisocyanate, which can cause respiratory tract irritations if working in an unventilated room.
5. Using the Table Before It Dries
Another mistake people make is to begin using the table before it has completely dried. Using the table before it dries usually results in smudges and scratches on the surface. Refer to the manufacturer’s instructions to learn the ideal time to let the table dry, which can be a few days to a week.
Tips to Maintain a Polyurethane Finish on a Table
There are a few maintenance tips to observe and avoid damage to your polyurethane finish on a table. They include;
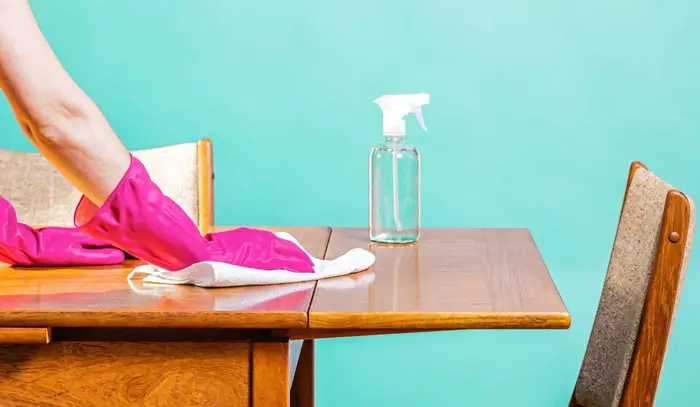
- Clean spills on the table immediately to avoid stains and damage to the finish.
- Place coasters under glasses, dishes, and other objects on the table to avoid scratches and the formation of water rings.
- Avoid using abrasive cleaners when cleaning the table, which can cause damage to the finish.
- Avoid exposing the table to direct sunlight for a prolonged time, which can cause the finish to fade and discolor after some time.
- Dust the table regularly to avoid the accumulation of dust particles, which can scratch the table as you wipe it.
FAQs
Following are some related questions and answers that you may ask yourself in this regard.
Q1. Can You Repair a Damaged Polyurethane Finish on a Table?
Usually, you can repair a damaged polyurethane finish on your table by applying another layer of fresh coat. Begin by sanding the current top layer so that the new adheres better. However, you may have to reapply the whole table if it is too damaged.
Q2. Can You Use One Coat of Polyurethane on a Table
While using one coat of polyurethane finish on a table is possible, the finishing is usually not even. Also, one coat defeats the purpose of using a polyurethane finish, which is to protect against damage. For better results, apply at least two coats to the table.
Q3. Are Five Coats of Polyurethane Too Much for a Table?
Usually, three coats of polyurethane coats are enough to protect a table. More than that usually lacks impact on the smoothness and, in some cases, may cause a plastic-like appearance on the table. However, five coats are usually ideal for a water-based polyurethane finish because it’s thinner.
Conclusion
The number of polyurethane coats to use on a table depends on factors like the wood type, desired level of protection, and type of polyurethane finish. However, in most cases, three coats are usually enough, especially when using an oil-based polyurethane finish since it’s thicker.
However, when using a water-based polyurethane finish, you may need to use up to five coats for better protection. Nevertheless, observe the tips discussed in the article to ensure you apply them ideally and prevent damage to the polyurethane finish on a table.