Can You Apply Polyurethane With A Roller: A DIY Guide
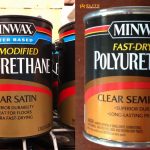
Polyurethane comes in different formulations, giving you more possibilities regarding application methods. Be that as it may, most product labels limit your options to brush-on and spray-on applications.
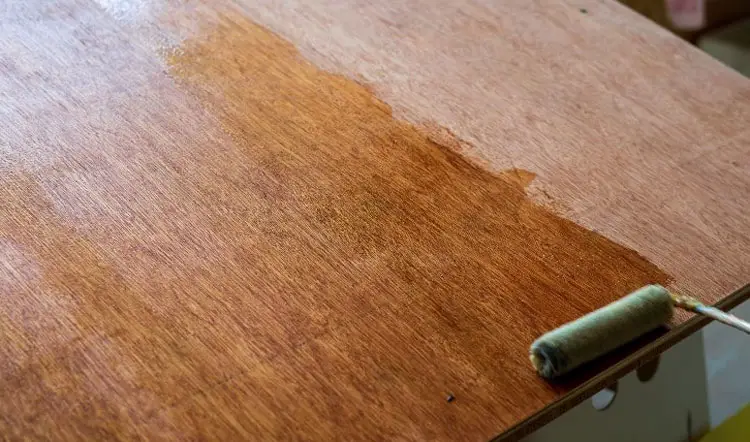
But can you apply polyurethane with a roller? Yes. You can roll polyurethane on hardwood floors. In fact, it yields a smoother finish than the brush-on method and is faster for large projects. All the same, you should use the right type of roller and technique to avoid streaks and bubbles.
We’ll explore the process of applying polyurethane with a roller and offer tips for achieving a flawless finish. Moreover, we’ll advise on the type of roller for the job.
Can You Apply Polyurethane With A Roller?
Yes. You can apply polyurethane with a roller. It’s true that rollers tend to create bubbles. But by practicing the right technique, you can use them to apply polyurethane and achieve a more professional finish than you would with a brush.
This table summarizes polyurethane rolling. We include the type of polyurethane for the roller method and the best roller type for each option.
| Type of Polyurethane | Best Roller To Use |
|---|---|
| Water-based polyurethane | Lambswool rollers |
| Foam rollers | |
| Synthetic fiber rollers (nylon and polyester) | |
| Oil-based polyurethane | Mohair rollers |
| Lambswool rollers | |
| Microfiber rollers | |
| Synthetic fiber rollers (nylon and polyester) |
Applying Polyurethane With A Roller – Digging Deeper
The paint roller market is growing rapidly, outpacing traditional paint brushes as the go-to method for painting. So, the ability to use paint rollers to apply polyurethane should come as no surprise.
From our analysis, you can use the roller method for both water-based polyurethane and oil-based polyurethane. Primarily, the roller method is only as good for flat surfaces. Plus, it’s more practical for large projects like hardwood flooring.
Nonetheless, there are some limitations, such as very tight corners that even corner edger paint rollers can reach. Still, it doesn’t hurt to cut in with other methods like brush-on.
Perhaps the most concerning red flag is bubbles. Apparently, it’s hard to avoid bubbles when using a roller to apply polyurethane. Nonetheless, there are techniques to avoiding this, which we’ll cover later on.
You can get around the issue of roll-out marks by using the right type of roller. Note that all roller types we’ve recommended are good for both oil-based and water-based polyurethane. Nevertheless, some tend to perform best for water-based polyurethane; others perform best for oil-based polyurethane. Don’t worry, we’ll cover this as we go.
How To Roll Polyurethane Without Bubbles?
Applying polyurethane with a roller is a DIY job. Still, it can be tricky if you don’t know the right way to go about it. In that regard, we’ll be happy to walk you through the process.
Gather Tools & Materials
- Polyurethane
- Thinning solvent (distilled water or denatured alcohol for water-based or mineral spirit for oil-based)
- A high-quality shed-resistant roller
- Mixing container with a stir stick or drill mixer
- Roller tray for even loading
- Paintbrush (to cut into tight corners and edges)
- Sandpaper or sanding disc for a sanding machine (220-grit, 320-grit, 400-grit, and 600-grit)
- Tack cloth or vacuum cleaner
- Tape
Surface Preparation
- Prepare the surface to receive polyurethane. Essentially, you want to smooth it out to remove imperfections. For this, you want to sand the surface so that polyurethane will cling on well and avoid peeling.
- Note that the first coat needs the most sanding. Hence, we recommend starting with coarse-grit sandpaper, preferably 220-grit. So, if you can afford it, a sanding machine will come in handy. Attach the 220-grit sanding disc and set it to medium pressure.
- Once done, wipe off the dust with a tack cloth soaked in mineral spirit. However, it would be much faster if you used a vacuum cleaner.
- Give your floor time to dry. Tape off adjacent surfaces like the walls and trimmings so they’re not coated with polyurethane.
- Ensure the job area is well-ventilated.
- Also, avoid application in extreme temperatures or humid environments as it can affect the drying process. Extreme temperatures can leave bubble-like swelling in the last coat by causing the vapors in liquid thinners to expand rapidly.
Mixing Polyurethane
Thicker coats are prone to roll-out marks, drips, and wrinkles. Plus, they’re more likely to leave bubbles, puddles, or running drips, especially when applying your final coat. Above all, a thick coat takes longer to dry.
- You can avoid all these troubles and build the same thickness by applying several thin coats. For this, we have to thin out polyurethane first. You don’t want to thin your polyurethane too much as you would if you use a wipe-on or spray-on method. So, we recommend thinning it by 10% in a mixing container.
- For water-based polyurethane, use distilled water or denatured alcohol. But if you’re using oil-based polyurethane, thin it with mineral spirit. Use a drill mixer to stir the mixture thoroughly.
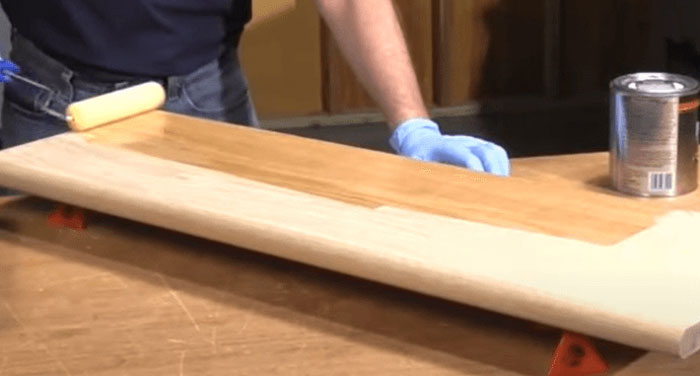
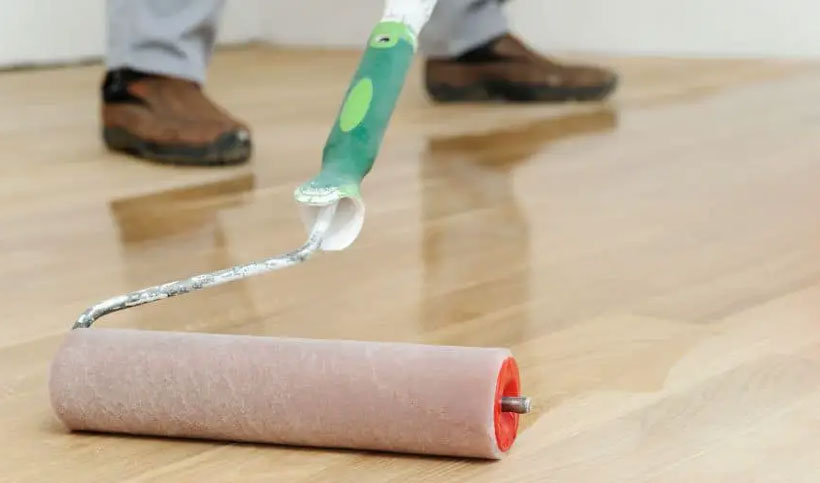
Applying Polyurethane With A Roller
To apply polyurethane with a roller, follow these steps:
Step 1: Decant a small amount of thinned polyurethane into a paint tray. While at it, avoid shaking the container to prevent air bubbles.
Step 2: Load your roller by dipping it into the tray. Roll it back and forth on the tray for even distribution.
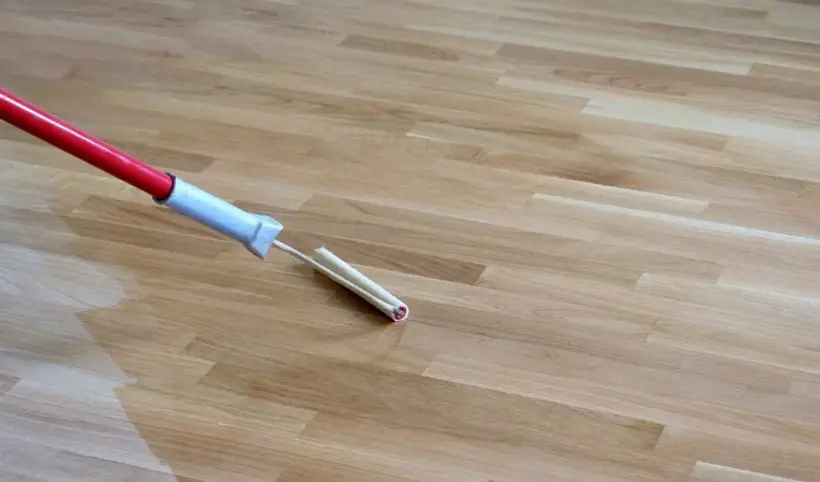
Step 3: Apply polyurethane on your wooden floor starting from one corner and working your way across. It would be best if you work in sections. While at it, observe the following tips for best results:
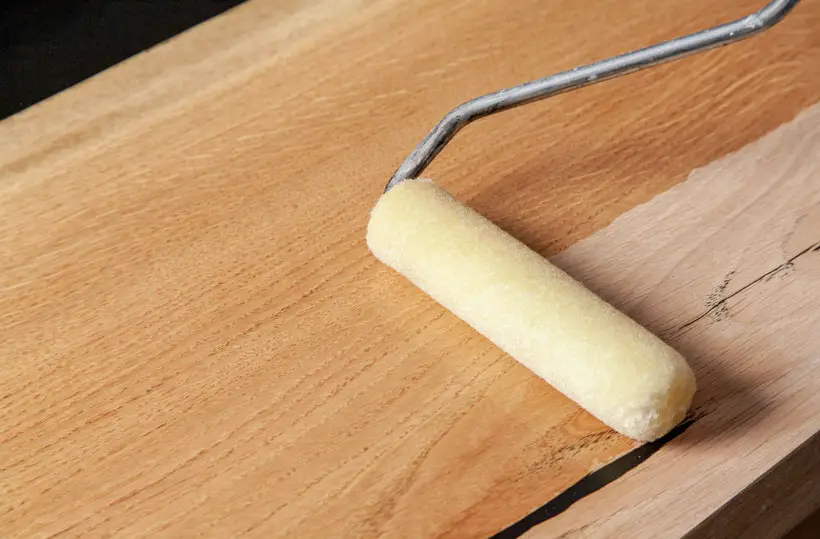
- Always roll with the grain to work the polyurethane into wood pores and ensure an even appearance
- Use long, even strokes and apply light downward pressure so your polyurethane goes a bit thinner on your wooden floor
- Apply in tight zig-zag motions to overlap each previous stroke to avoid leaving gaps or streaks
- Maintain a wet edge to prevent lap marks
- Keep your roller saturated at all times to avoid dry spots or streaks
- Feather the edges to blend them seamlessly, reducing the appearance of roller marks
- Cut in with a brush in hard-to-reach spots like corners
- Use a bucket screen to remove excess poly from the roller cover. Doing so prevents dripping and allows you to paint more evenly
Step 4: Give your first coat time to dry. For this, you should refer to the manufacturer’s guidelines.
Step 5: After drying, sand your first coat using 320-grit sandpaper or a sanding disc for better adhesion and a smoother finish. Wipe it off with a tack cloth soaked in mineral spirit.
Step 6: Apply the second coat repeating the same process
Note that you should always sand subsequent coats with finer-grit sandpaper. For instance, you want to use 220-grit for the first coat, 320-grit for the second, 400-grit for the third, and 600-grit for the last coat. Also, sand with the grain on your final coat for a smoother and more professional finish.
What Kind of Roller To Use for Polyurethane?
It requires more than the right technique to achieve a smooth and flawless finish with no bubbles. Using the right roller for polyurethane application offers several advantages over brushes. You stand to benefit from:
- Faster coverage, especially on larger surfaces
- A more even coat with no brush strokes
- Consistent pressure and control
- A fast drying time
It’s true that the spray-on option offers faster coverage. Nevertheless, the roller method generates low aerosol, making it the better choice for fast polyurethane application.
1. Foam Roller for Polyurethane
Foam rollers tend to absorb less liquid. So, if you’re looking for what kind of roller to use for water-based polyurethane, a foam roller will suit you. Note that by absorbing less liquid, a foam roller minimizes the risk of bubbles.
The foam roller material can be open or closed-cell foam. Though expensive, we recommend closed-cell foam for its excellent shed-resistant properties.
2. Microfiber Roller for Polyurethane
A microfiber roller stands out for its excellent paint pickup and release. In that regard, it makes polyurethane application more efficient and even. In fact, a microfiber roller will leave you with a smoother, lint-free finish than a foam roller.
However, that’s only the case if you use it for oil-based polyurethane. It doesn’t perform well with water-based polyurethane.
3. Synthetic Fiber Rollers for Poly
Synthetic rollers, most especially nylon and polyester are a versatile choice for poly application. They’re as good for water-based poly as they are for oil-based poly. This is because synthetic materials are more resistant to solvents. A shorter pile height of 1/4-inch or less is often preferred in synthetic rollers as it creates a smoother finish.
4. Mohair Roller for Polyurethane
Think of Mohair rollers as a blend of natural Mohair fibers and synthetic materials. This roller material is popular for its smooth finish, most especially with oil-based polyurethane.
Primarily, it holds more liquid for better flow and leveling. But unlike other rollers on the list, Mohair rollers are best suited for trim jobs and smaller surfaces rather than large surfaces.
5. Lambswool Roller for Polyurethane
Lambswool is perhaps the best roller material for the job. Though expensive, you can use it for both oil-based and water-based polyurethane. Moreover, it’s durable enough for use on rough surfaces like lightly scuffed floors and still offers a smooth finish.
What Size Nap Roller for Polyurethane?
It’s clear that material is one factor to consider when choosing a roller for polyurethane. Besides material, another crucial factor is the nap size. Think of a nap size as the roller cover thickness or pile height of the roller material from the backing to the tips.
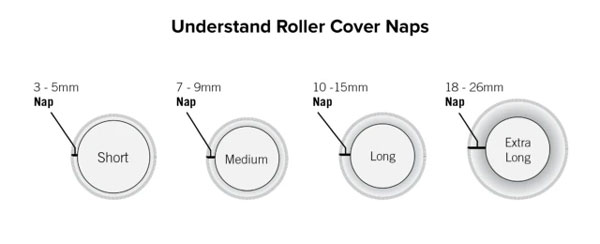
Choosing the right nap size reduces the chances of streaks and bubbles. The less the nap size, the smoother the finish.
- Primarily, you want to go for short to medium nap size. A short nap size of 1/4-inch or less is best for smaller projects or intricate details.
- For large projects, however, we recommend medium nap sizes of 3/8 to 1/2 inches for better coverage and faster application.
- But don’t forget nap density. Essentially, a high-density nap leaves a smoother finish.
- On the other hand, a lower-density option will leave your floor with a slightly textured surface.
FAQs
Here, we look at popular queries related to applying polyurethane with a roller.
Q. What causes bubbles when rolling on polyurethane?
Applying one thick coat and using a roller with a long pile length are the primary causes of bubbles. Also, bubbles may appear if you allow air into thinned polyurethane by shaking the container during application.
Q. How long does it take polyurethane to dry after rolling on the first coat?
Typically, you’ll wait 4-6 hours between coats of polyurethane. Oil-based polyurethane generally takes longer to dry. Still, it’s best to consult the label for the manufacturer’s guidelines.
Q. How do I make polyurethane smooth and shiny?
Sanding between coats is the main trick to achieving the smoothest polyurethane finish. You can get a more glassy appearance by buffing the last coat with automotive paste wax.
Conclusion
You can apply polyurethane with a roller. However, there’s a catch. Getting a flawless finish is only possible if you use the right type of roller and technique. Also, if you’re new to applying polyurethane, we recommend practicing in a small, inconspicuous area. Nevertheless, many DIY enthusiasts do get it on their first try using our tips.
One more tip for those working with water-based poly is to condition or pre-wet the roller before use. Do this by rinsing the roller and spinning it out such that it’s lightly damp. This trick will make your roller load faster and easier.