How To Apply Polyurethane To Floors? (Full Guide For Beginners and Pros)
Imagine guests coming to your home and frowning after seeing your old floor finish. That’s just unbearable. You can fix that by applying polyurethane.
But how to apply polyurethane to floors? To put it simply, it involves
- Carefully preparing the floor
- Choosing the right type of polyurethane
- Applying primer
- Layering polyurethane
- Sanding between coats
- Allowing for proper curing
Such a small explanation doesn’t help much, we know. That’s why we prepared a full guide for you right below. Check it out right now!
How To Apply Polyurethane To Floors? (All Steps Involved)
Let’s have a look at all the steps involved in applying polyurethane to floors like a pro.
Step 1. Get to know the types of polyurethane you’ll use
Polyurethane can either be oil- or water-based, but both are common.
A. Oil-based polyurethane: It has a warm amber hue that adds richness and depth to the wood grain. Compared to water-based polyurethane, it has superior resistance to scratches, stains, and heat.
B. Water-based polyurethane: It has a clear and transparent appearance that preserves the natural color of the wood. It is more environmentally friendly and has less odor than oil-based polyurethane.
Step 2. Choosing the right type of polyurethane for your floor
To pick a particular type of polyurethane, you need to consider the following factors:
A. The color and condition of your wood
If you have light-colored wood or wood that has been bleached or stained, you may prefer water-based polyurethane to avoid altering the color. Otherwise, choose oil-based polyurethane to enhance the patina.
B. The traffic and usage of your floor
If you have a high-traffic or high-moisture area (such as a kitchen or bathroom), you may prefer oil-based polyurethane for its durability and resistance.
C. The style and design of your floor
If you want a glossy and smooth finish that reflects light, you may prefer water-based polyurethane for its clarity and transparency.
Contrarily, with a matte and textured finish that absorbs light, you may prefer oil-based polyurethane for its warmth and depth.
Step 3. Prepare the floor surface
Before applying polyurethane to your floor, you need to prepare the surface by sanding, cleaning, and repairing any defects.
A. Sanding: You need to sand the floor in three stages: coarse, medium, and fine.
Start with coarse-grit sandpaper (40-60 grit) and then switch to medium-grit sandpaper (80-100 grit) to smooth any scratches.
Finally, switch to fine-grit sandpaper (120-150 grit) to polish any imperfections left by the medium-grit sandpaper.
B. Cleaning: Clean the floor in two steps: vacuuming and wiping.
C. Repairing: Use wood filler or wood putty of the same color and texture as your wood to fix any holes or cracks in the floor.
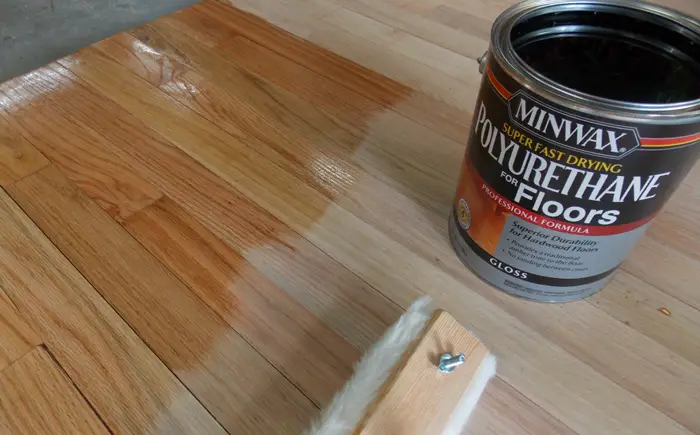
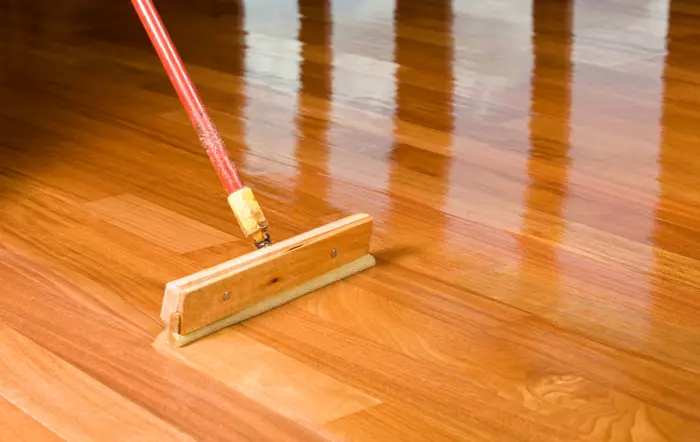
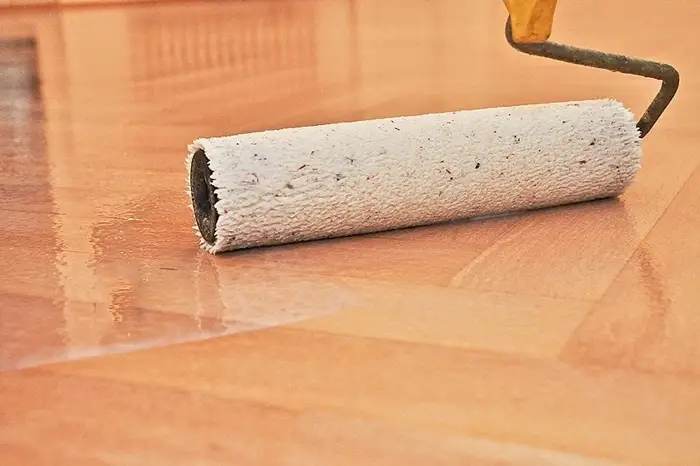
Step 4. Apply the polyurethane
Apply at least three coats of polyurethane for optimal protection and appearance. You can use either a brush or a roller for this step.
To apply the polyurethane with a brush/roller, follow the process:
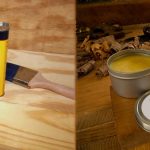
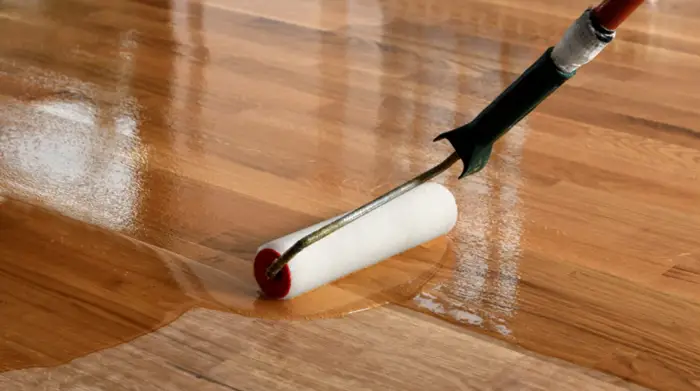
- Choose a high-quality natural bristle brush or a synthetic fiber roller.
- Pour some polyurethane into a clean metal or plastic container and seal the original can.
- Dip the tip of the brush/roller into the polyurethane and wipe off any excess on the edge of the container.
- You have to load enough polyurethane on the brush/roller but not too much to avoid drips and runs.
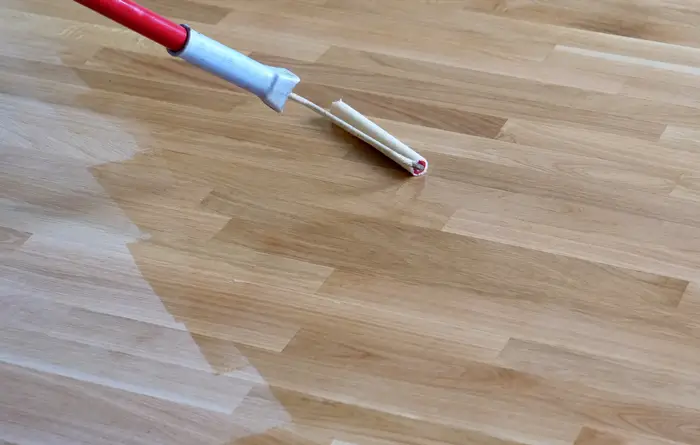
- Start from one corner of the room and work your way across the floor in parallel rows.
- When applying polyurethane, make sure that your strokes are long and even and that you go toward the wood grain. Overlap each stroke slightly to avoid gaps and ridges.
- Keep a wet edge at all times by working quickly and steadily. Do not stop or pause in the middle of a row or section.
- Do not go back over an area that has started to dry or tack up. This will cause streaks and bubbles in the finish.
- Apply a coat of uniformly thin polyurethane and even across the entire floor surface.
- Do not apply too much or too little polyurethane because this will affect the drying time, durability, and appearance of the finish.
- Let the first coat dry completely. This may take several hours or overnight.
Step 5. Sand between coats
After applying each coat of polyurethane, you must lightly sand the surface with fine-grit sandpaper (220 grit or higher). For this step, you can use either a hand sander or an orbital sander.
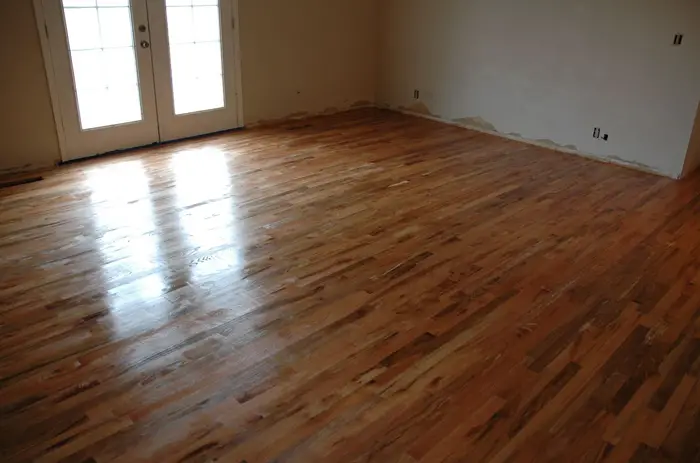
Step 6. Apply the final coat
After sanding the second coat of polyurethane, you are ready to apply the final coat.
Follow the same process as before, but with some minor adjustments, for example:
- Use a fresh brush or roller for the final coat to avoid any contamination or deterioration from the previous coats.
- Apply a slightly thicker coat of polyurethane than before to fill in any remaining pores and create a smoother and glossier surface.
- Wait until the final coat is completely dry and cured before proceeding. This may take several days or weeks.
Cautions To Follow After Applying Polyurethane To Your Floor
You will be able to make use of your new floor once the last coat of polyurethane has completely dried and hardened. Thus, you need to take some precautions to protect and maintain your floor, such as:
- You should wait at least 24 hours before placing any furniture or rugs on the floor. And you should not walk on it.
- Do not clean the floor with water or any harsh chemicals for at least 30 days after applying the final coat.
The American Chemical Society confirmed in a book chapter published in 2021 that using products with strong chemicals like ammonia or bleach can deteriorate the polyurethane finish quickly.
- Clean the floor regularly with a dry or damp mop and a mild cleaner designed for hardwood floors.
- Avoid using any cleaners that are abrasive or acidic.
- Protect the floor from scratches, dents, and stains.
- Refinish the floor every few years or as needed by lightly sanding and applying a new coat of polyurethane.
How Long Does It Take For Polyurethane To Cure Completely?
The answer to this question depends on several factors. But as a general rule of thumb, you can expect the following curing times for different types of polyurethane:
- Water-based polyurethane: 30 days
- Oil-based polyurethane: 30 days
- Spar urethane: 30 days
- Polyurethane spray: 30 days
- Polyurethane paint: 7 days
- Polyurethane glue: 24 hours
How to Speed Up The Curing Time Of Polyurethane Floors?
If you want to reduce the curing time of your polyurethane-coated floor, you can try some of the following tips:
- Choose a faster curing type of polyurethane, such as water-based polyurethane or polyurethane spray.
- Apply thinner and fewer coats of polyurethane.
- Increase the temperature and decrease the humidity of the environment.
- Use a fan, a heater, or a dehumidifier to improve the ventilation and airflow of the environment.
- Use a catalyst or an accelerator to enhance the reaction rate of the polyurethane.
How To Test After Applying If The Polyurethane Floor Is Cured?
The best way to test if polyurethane is cured completely is to perform a simple scratch test. You will need a coin or a fingernail for this test. Follow these steps:
- Choose a random spot on the coated surface.
- Gently scratch the surface with a coin or a fingernail.
If there are no visible marks or damage, the polyurethane is cured completely. Otherwise, it needs more time.
FAQs
Now, let’s get to know some of the most frequently asked questions related to this topic:
Q2. How do I apply polyurethane with a rag or a pad?
To apply polyurethane with a rag or a pad, use a clean and lint-free cotton rag or a synthetic pad. You must dip the rag or the pad into the polyurethane and squeeze out any excess. Then, you will have to wipe the polyurethane over the surface in circular motions.
Q3. How long should I wait between coats of polyurethane?
Before applying the next coat, you need to wait at least 4 hours for water-based polyurethane and at least 24 hours for oil-based polyurethane.
Q4. Can I apply another coat of polyurethane over an existing coat to fix any problems or defects?
Yes, this can fix some minor problems or defects in the finish, such as scratches, stains, dullness, or unevenness. However, it may not work for major problems or defects, such as cracking, blistering, hazing, sags, or curtains, etc., in the finish.
Final Takeaways
In closing, mastering the art of applying polyurethane to floors requires attention to many things, such as
- Floor preparation
- Polyurethane selection
- Primer Application
- Polyurethane Application
- Sanding Between Coats
- Final Coating
- Curing
- Regular maintenance to ensure the finish remains pristine
We know applying polyurethane to your floor is a complex task. But, with our guide here, we can guarantee it will become easy for you. Happy flooring!