How to Install Roller Drawer Slides? (Solved)
The name of the roller-bearing drawer slides tells you almost everything about it! They include roller, the cabinet stay stable and the drawers are added to the moving equipment! But what the name doesn’t tell us is- how to install roller drawer slides! Oh wait, what are we here for? We can tell you all about it!
How to Install Roller Bearing Drawer Slides
Here is a method on how you can install roller bearing drawer slides easily with the help of screwdrivers, bolts, and a drill! It’s easier if you are patient.
Step 1: Prepare the Gears
For the installation process, you will need the below-mentioned gears.
- Fasteners or Bolts
- Screwdriver
- Drill
- Marker Pen
Step 2: Separate the Components
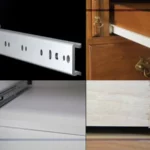
The drawer slides we usually see will have two or more components. One of them is the cabinet member and the other one is the drawer member. The work of the cabinet member is to stay mounted to any stable component.
As we are dealing with roller slides, you will see that the two different members have come separately when you have bought it. However, there are times when they come attached. For these situations, all you need to do is slide it a bit! Sliding the drawer member forward will help you extend it. And finally, the drawer roller will come out over the cabinet member’s roller.
The problem with the ball-bearing slides is there is a third intermediate slide member. And for those, you will get to see a release lever so that you can separate them. Installing is done, what about removing the drawer slides? Check out how to remove drawer slides no lever to make it easy!
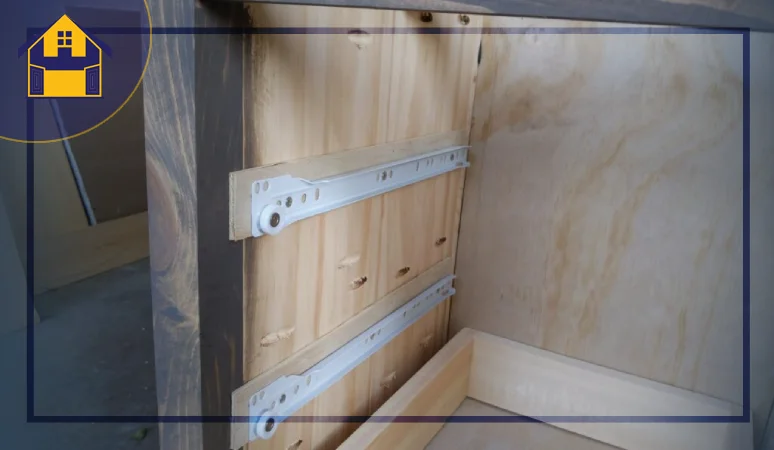
Step 3: Get the Cabinet Member Inside
As you have separated the cabinet members, your installation will be easy not. For installing the roller drawer slides, you have to get your hands on the cabinet member first. Take a look at the mounting configurations.
Get your hands inside the cabinet or any other stable area. Hold the cabinet member and align it inside the stable component you have selected. This method will work for the roller ball bearing. If you want to fix ball-bearing drawer slides, check it out!
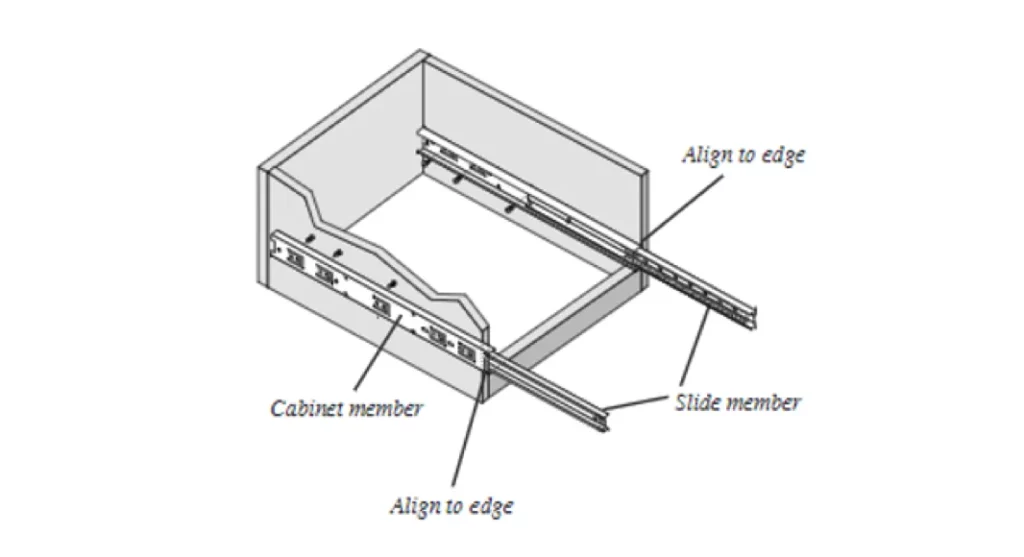
Step 4: Align the Cabinet Member
Now, you have to deal with the alignment carefully. The drawer slides should always be parallel. Otherwise, the drawer slides won’t get ready for the next step. When it comes to leveling the drawer slides, the first thing you need to notice is the edge of the cabinet along with the edge of the slide.
Take a look at the distance between these two edges. The distance should be the same for the two drawer slides. Once they are leveled, you can move to the next step.
- Some people might have planned to get the overlay fronts. Such models have drawers with fronts that can overlap the cabinet’s sides. In that case, you have to align the front part of the cabinet member first with the cabinet’s front edge. On the other hand, you can also settle for drawer fronts!
- These usually have the fronts inserted into the inner part of the cabinet. For these cases, you have to setback the cabinet member’s front first. According to the thickness of the drawer front, you have to setback the cabinet’s front.
Step 5: Secure the Cabinet Member
So, now you have aligned the cabinet member with the cabinet! It’s time to secure it there. For this, you will require a fastener that fits. Go through the holes of the cabinet members and check them. Now, fasten the cabinet member inside the cabinet.
In some cases, people settle for more than two or fewer holes. However, to ensure that it is secured properly, you will need three holes at least. For roller drawer slides, the more holes the better security! Some of the cabinet members come with two slotted holes so that you can mount them inside the cabinet. Go for the best cabinet drawer slides to avoid any sort of instability. And in such cases, you will see the required adjustments at the end part of the installation process.
As you are dealing with the cabinet, for the depth adjustments, you must go for the horizontal slots. But you can also keep the adjustment part for later. If you want this, you can only secure the cabinet member with two fasters now and do the rest later.
- Some of us love to go for the bolts for the fastening job. In that case, the holes should be pre-drilled. You cannot drill it when you have taken the cabinet member inside. For making the holes perfect, you have to take the cabinet member inside your cabinet and then align it.
- With the help of a marker, mark the places of the holes. Check the mounting slots beforehand. Get a perfect-sized drill bit and then, all you need is to drill the holes; that’s it.
Step 6: Align the Drawer Members
Now, we are almost at the end of installing the roller drawer slides. Here, you have to install the drawer member. With this, you can release the roller slide without any discomfort. Get your hands on the front of your drawer member.
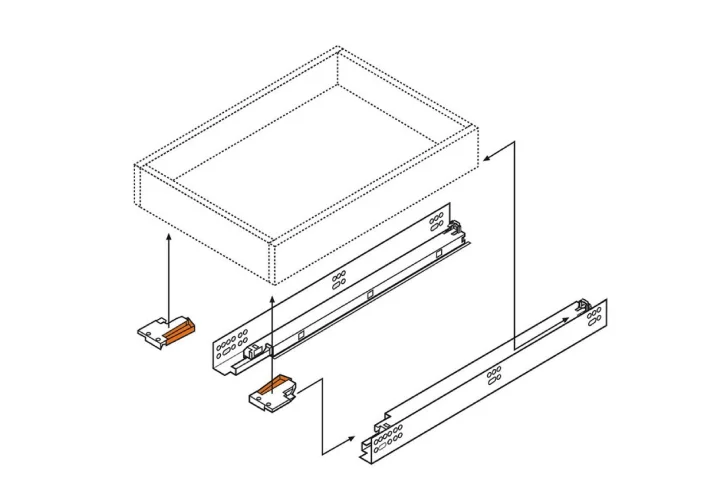
And then, align it to the front of your drawer. Once again, the drawer members should be leveled or aligned. If the drawer members are not aligned with the cabinet members, the drawer won’t fit inside the cabinet. That’s not what you want, right?
Step 7: Secure the Drawer Members
Once the drawer members are aligned with the cabinet members, you have to fasten the cabinet to secure it. Get your hands on the fastener and start fastening into the holes or slots. The process is just like the cabinet members.
The holes are the same here too. If you want, you can keep it for later. However, the way we used horizontal slots for the cabinet member, here, the factor will be different. In the case of the drawer members, it’s necessary to settle for the vertical slots. This will allow for a perfect height adjustment.
Step 8: Get the Drawers in
It’s time for you to insert the drawer. All the members are attached now and secured carefully. You can easily get the drawer inside the cabinet. As you have roller drawer slides, for inserting the drawer, you must check the drawer droller and the cabinet roller.
Place the drawer roller on the cabinet roller and then roll it over the cabinet roller. Be careful when you do it because the drawer won’t position perfectly if the rolling is not perfect. If you don’t know how to install ball-bearing drawer slides, let us tell you that the methods are quite similar. Only a few differences are noted.
Step 9: Secure and Adjust
We have come to the last stage of the installation of roller drawer slides. If you have dealt with the holes beforehand and fastened the cabinet members and drawers properly, you don’t need to complete this step.
However, for the slotted mounting holes, it’s time to do the adjustments. For the cabinet members, go for horizontal slots, and for the drawer members, go vertical. In this way, both the depth and the height will be adjusted. Then, secure every member.
Use the third mounting hole for the job. If you require improved stability or security, replace the screws and nuts. For every member, go for two locking screws. These provide the utmost security.
Wrap Up
You have already checked how you can install the roller drawer slides. The ball bearing one is similar but there are specific differences. We have listed the installed process of that one too! Now, you don’t need an expert to do it for you!