How To Sand Polyurethane- An Expert’s Guide
Polyurethane is a popular finish for protecting and enhancing the appearance of wood surfaces. You can use polyurethane to improve the durability of a wooden floor, furniture, or other woodworking project. However, sanding is essential in achieving a flawless and smooth finish.
So, how do you sand polyurethane? First, gather the necessary tools and safety equipment. Then, you must select the appropriate grit sandpaper. Sand the edges and corners first, then the main surface. Finish with fine sanding to smooth out any imperfections or stains.
Continue reading to learn the in-depth, step-by-step guide on how to do this. This article will also provide you with invaluable insights into the difference between wet and dry sanding methods.
Tools Needed
Proper preparation is required before beginning the sanding process to achieve the best results. That said, here are the tools needed for this task.
- Sandpaper: Choose high-quality sandpaper with varying grits, such as 80, 120, 220, and 320. Coarser grits like 80 and 120 are ideal for initial sanding, while finer grits like 220 and 320 are used for finishing.
For wet sanding, you’ll need wet/dry sandpaper. This sandpaper is designed for wet sanding and does not fall apart when soaked in water, and it comes in high grits, e.g., 400, 600, 800, 1,000, up to 5,000.
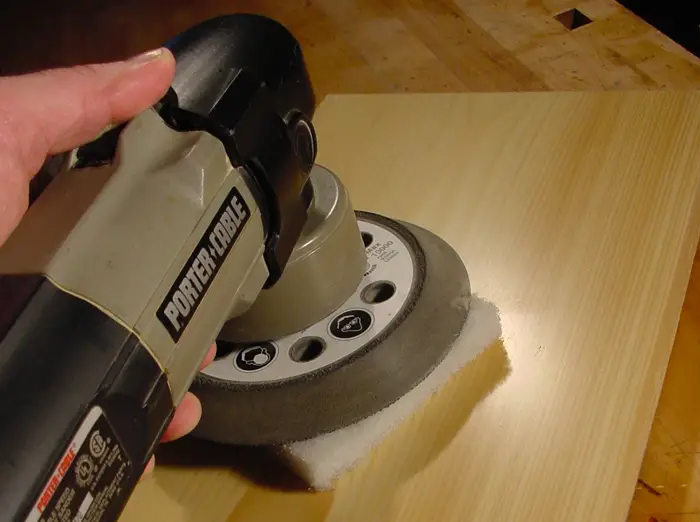
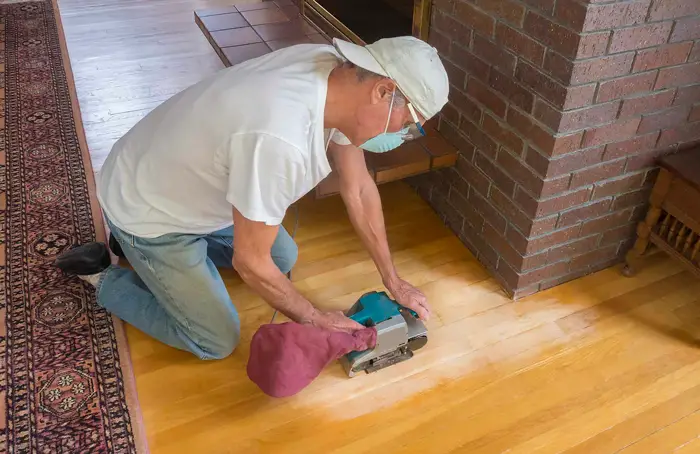
- Sanding block or orbital sander: A sanding block provides you with stability and control during manual sanding. On the other hand, an orbital sander speeds up the process for larger surfaces.
- Safety gear: You should equip yourself with safety goggles, a dust mask, and ear protection to shield against dust and potential debris.
- Clean cloth or tack cloth: This is used to wipe away dust and particles from the surface after sanding.
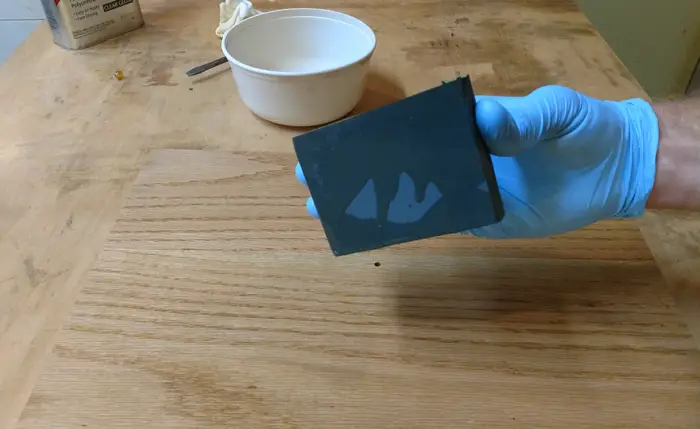
- Clean water, detergent, and bucket: You will need this for wet sanding.
How To Sand Polyurethane?
When it comes to sanding polyurethane, I’ve learned a few tricks over the years that I’d like to share with you. You can sand in two ways: wet sanding or dry sanding. Both methods have advantages and disadvantages, so let’s look at them individually:
1. Dry Sanding

Step 1: Prepare the Surface
Ensure the wood surface is clean and free from any dirt or debris. Use a clean cloth to wipe it down thoroughly.
Step 2: Choose the Right Grit
Start with coarse grit sandpaper, such as 80 or 120. As you progress through the sanding process, switch to finer grits like 220 and 320.
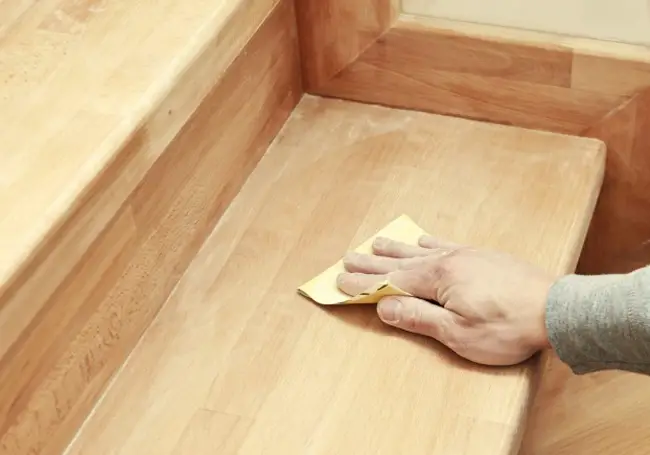
Step 3: Sand Along the Grain
Sand the wood surface following the direction of the wood grain. Keep the sandpaper flat and apply even pressure for an even sanding job.
Step 4: Check for Imperfections
After the initial sanding, inspect the surface for any remaining imperfections, scratches, or rough spots. If there are any rough spots, repeat the sanding process.
Step 5: Progress to Finer Grits
Once the surface is smoother, switch to finer grit sandpaper. Sand with the finer grits to achieve a polished and flawless finish.
Step 6: Remove Dust
After each round of sanding, use a tack cloth or a soft brush to remove any dust or particles from the surface. Cleaning away the dust ensures a clean canvas for the next coat of polyurethane.
Step 7: Buff the Surface
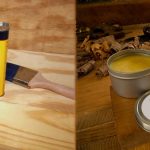
When you are satisfied with the smoothness of the wood, buff the sanded surface with a soft, clean cloth. Buffing removes any remaining dust particles and ensures a smooth and even texture.
Consider using car wax designed specifically for wood surfaces for an added layer of protection and a glossy finish.
2. Wet Sanding
Wet sanding should only be done on the final fully cured coat of polyurethane, which can take three weeks to one month to cure.
Step 1: Dry Sand the Wood
Start by dry sanding the wood surface with 80-grit sandpaper, followed by 100-grit one and finally 120-grit sandpaper. This will help remove any imperfections or uneven areas.
Step 2: Clean the Surface
Wipe down the sanded surface with a clean, damp cloth to remove dust and debris. This ensures you have a clean working area for wet sanding.
Step 3: Soak Sandpaper
Soak the wet/dry sandpaper in water and detergent for at least 30 minutes prior to using it.
Tip: Wet/dry sandpaper works best if soaked overnight.
Step 4: Prep the Work Area
Ensure your workspace is clean and clutter-free. To begin, thoroughly clean the surface to remove any dust, dirt, or debris. Wipe the surface with a clean cloth or tack cloth to remove any contaminants that may interfere with the sanding process.
Step 5: Begin Wet Sanding
Start with a coarse grit wet/dry sandpaper, for example, 400 or 500. Start sanding the surface gently in circular or back-and-forth motions. Keep the sandpaper and the surface wet at all times.
Tip: Dip it in water occasionally during the process to keep it wet.
Step 6: Check Progress Periodically
As you sand, check the progress by wiping away the slurry with a clean microfiber cloth. This will help you see how much material you are removing and ensure you are achieving the desired smoothness.
Step 7: Switch to Finer Grits
Once you are satisfied with the initial grit’s sanding progress, switch to a finer grit wet/dry sandpaper (e.g., 600, 800, 1000 grit). Continue wet sanding with the finer grit to achieve a smoother finish.
Step 8: Buff the Surface and Apply Wax
Same as in dry sanding, buff the surface and apply wax.
Additional Tips For When Sanding Polyurethane
Here are some additional crucial tips that will take your sanding game to the next level:
Do Not Linger on One Spot
When sanding polyurethane, avoid spending too much time in one area. Continuous sanding in the same spot can create dips in the wood. Keep the sandpaper moving in a steady and fluid motion to ensure consistent results.
Use Light Pressure
Applying excessive pressure while sanding can damage the wood and affect the final finish. Instead, use light and even pressure to let the sandpaper do the work.
Unclog the Sandpaper After Each Sanding
Sanding generates dust and residue that can clog the sandpaper, reducing its effectiveness. A sandpaper cleaning tool or a simple tap against a hard surface can help remove debris and keep the sandpaper ready for action.
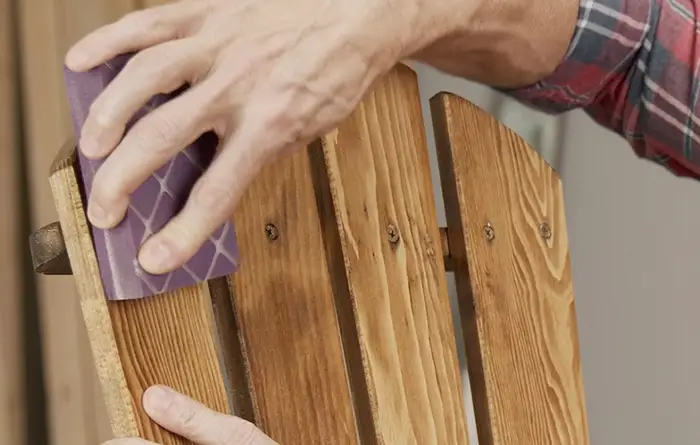
Sand in the Same Direction as the Wood Grain
Always sand in the same direction as the wood grain to achieve a smooth and consistent finish.
Use Sanding Pads for Contoured Surfaces
Sanding pads are flexible and conform to the shape of the surface, ensuring even sanding in difficult-to-reach areas.
Be Mindful of Edges and Corners
Edges and corners are more susceptible to over-sanding and damage. Avoid excessive pressure when sanding near edges or corners and use finer grit sandpaper in these areas.
Why Is Sanding Polyurethane Important?
Sanding polyurethane is a vital step in the finishing process, and its importance cannot be overstated. Here are the key reasons why sanding is crucial:
- Smooth surface: Sanding eliminates imperfections and rough spots on the wood surface. These imperfections could be trapped beneath the finish without sanding, leading to an uneven and less appealing result.
- Better adhesion: Sanding creates micro-abrasions on the surface, allowing the polyurethane to adhere more effectively. This ensures that the finish adheres securely to the wood and reduces the risk of peeling or flaking over time.
- Enhanced appearance: A well-sanded surface provides a polished and professional appearance. It helps to highlight the natural beauty of the wood and enhances the overall aesthetics of the finished project.
- Improved durability: A properly sanded surface ensures that the polyurethane forms a strong protective layer on the wood. This layer protects the wood from moisture, stains, and wear, significantly extending its lifespan.
FAQs
Here are a few more related questions that you might be interested in.
Q1. How many coats of polyurethane do I need to apply before sanding?
In most cases, two to three coats are sufficient. Additional coats may be required in high-traffic areas or on surfaces exposed to harsh conditions. Allow the polyurethane to dry between coats before applying the next coat. Sand between coats to ensure a smooth and even finish.
Q2. How long does polyurethane take to dry before sanding?
If dry sanding, wait for two to three hours for water-based polyurethane and up to six hours for oil-based polyurethane. For wet sanding, allow water-based polyurethane to fully cure for up to two weeks and oil-based polyurethane to cure for up to 30 days.
Q3. Is sanding required for the final coat of polyurethane?
No. Sanding the final coat of polyurethane is not always necessary, especially if you achieve the desired smoothness and finish in the previous coats.
Conclusion
Sanding polyurethane is an important step in achieving a beautiful and long-lasting wood finish. Whether you choose wet or dry sanding, ensure you use the proper tools and techniques as discussed in this article. This makes the process more fluid and efficient.
You should never skip the sanding process because it improves adhesion and the overall appearance of the finished project. Safety precautions are essential during sanding to protect yourself from dust and potential injuries. Remember that patience and attention to detail are essential during this process.