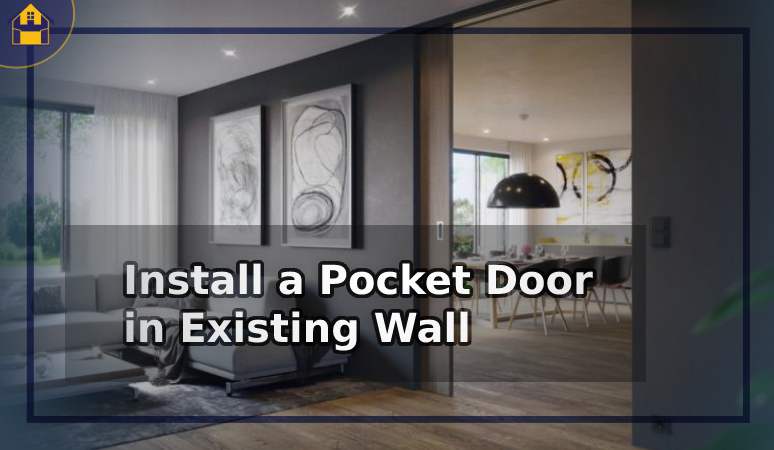
You Can Install a Pocket Door in Existing Wall (Here’s How!)
If you are an owner who wants to expand the space of a bathroom or other areas on existing walls, then this guide will be handy for you. Installing the pocket door might help you to reach the target of getting max rooms.
So, can you install a pocket door in an existing wall? Yup! With the right instruction, gears, and plan, you can do it pretty well.
Keep on reading this guide till the end to discover the procedure with some additional info related to the topic.
How Can You Install a Pocket Door In An Existing Wall?
An in-depth explanation will require if you need to know the exact method and try it. Just mimic the given steps to successfully get the job done. Before that, I want to remind you that you’ll need tools that are stiff and solid-quality.
Tool Recommendation
The Johnson Hardware 1500 is a lovely option that seems rigid, light, and flexible. It contains nuts, screws, and other handy gears required for this whole procedure of pocket door installation on existing wall.
Installing a pocket door might take around 20 – 40 minutes based on your skill. So, prepare the gears and start working. Go On!
Required Tools:
- Pocket door kit
- Screwdriver.
- Driller & drill bit.
- Level.
- Hammer.
- Circular saw.
- Safety equipment (glove, glass, & mask).
- Pocket knife.
- Flat bar.
Step 1: Cover Yourself with Safety Gears
Wear the safety gadget to keep yourself safe from the dust and other obstacles. Be sure nothing is distracting you during the procedure to fully focus on the following steps.
Step 2: Rip Out the Door Jamb & Casing
Take a pocketknife and start to cut one side of the jamb and casing. Be sure to rip them from behind hitting the caulk so that they easily come out.
Step 3: Detach the Door Jamb & Casing
Use a flat bar placing on the sides of the jamb and casing and trap them so that when you move it, they come out quickly.
You need to use the flat bar from up to down areas without skipping or pulling the jamb or casing to get the job done. Remove the other sides in the same way.
Step 4: Cut Additional Area Based On The Pocket Door Space
You need to cut the area after measuring the pocket door. As it needs to slide from the left to the right direction or vice versa, you need to add a little space to make that happen.
Use the circular saw to rip out the extra space. Instead of it, you can use a tough miter saw like the DEWALT 12-Inch Miter Saw for a straight cut.
Step 5: Move the Wiring Outlet
Shift the wiring outlet (if contain on the sides). Make a square space for the wiring outlet on the drywall where you’ll attach the pocket door.
Be sure to choose a safe location where nothing covers the switch. And simply insert the wiring outlet there and attach the 2 nuts tightly using a screwdriver or driller.
Step 6: Measure the Pocket Door Kit
Measure the width, height, and length of the pocket door kit which you have right beside you. Based on these, you need to calculate the drywall to fit the header, stud, and door properly.
If the drywall frame seems smaller than the actual measurement, you need to cut the extra frame using a circular saw.
Step 7: Insert the Pocket Door Frame
Place the frame (header, studs, bracket, and trimmer attached) on the doorway and insert it naturally. Makes sure the top side of the frame is aligned in level.
Locate the holes where the screws go. Then, insert the screws using a screwdriver or driller from the other side (going inside the room).
Step 8: Attach the Bumper & Fastening Latch
Insert the bumper and fastening latch on the interior part of the door frame (right side). Try to mark the spot before attaching it. Place screws by using a driller to secure them. Do the same thing on the left side of the door frame.
Step 9: Fit the Door
Attach the wheels on the rail in dissimilar directions. Then, insert the door matching the wheels and bumpers by connecting the big screws. Move the door to end the procedure.
Frequently Asked Questions
How hard is it to install a pocket door in an existing wall?
TBH, it’s not that hard but might require some time consuming effort. The real challenge is the plumbing and outlet wiring setup which sometimes needs to be removed or moved into another place which typically takes a lot of time.
Are pocket doors worth it?
Anyone who wants to remodel or retrofit the existing one to improve its appearance should try the pocket door. It’s stunning for a small space, boasts flow of the room, and improves looks.
How much does it cost to install pocket door in existing wall?
The general cost to install the pocket door in the existing wall will be $1,000. You might need to pay the tax and other charges too. In total, it’ll cost around $500 to $3,500 (including labor costs).
Ending Note
Understanding the whole procedure is a big task than anything. Once you get that out of the way, things shall fall into place easy and effortless. Following the detail of each step with the right tools without skipping any beat will lead you to successful results.Get help from your friend or expert if you find it difficult to deal with on your own. Hope you find this guide about can you install a pocket door in an existing wall well-explained and try the procedure in the real time to get the job done.