How To Apply Polyurethane To Wood: A Comprehensive Guide
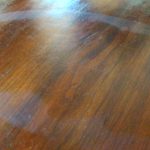
Applying polyurethane to wood is a common way to protect and enhance the appearance of wooden surfaces. This protective coating adds beautiful luster and prevents scratches, stains and daily wear and tear from damaging your woodwork.
Then, how to apply polyurethane to wood? Follow the steps below to apply polyurethane to wood:
- Prepare the Wood Surface
- Choose the Right Polyurethane and Tools
- Stir the Polyurethane
- Test in an Inconspicuous Area
- Apply the First Coat
- Sand the First Coat
- Apply Subsequent Coats
- Final Sanding and Finishing
- Allow to Cure
In this guide, we’ll walk you through the step-by-step process of applying polyurethane to wood, ensuring a smooth and professional-looking finish.
How To Apply Polyurethane To Wood?
Polyurethane or synthetic polymer is available in both oil-based and water-based formulations. Which type you will apply depends on your preferences. Here is a step-by-step process of applying polyurethane to wood.
Materials you’ll need:
- Polyurethane (oil-based or water-based)
- Stir stick
- Paintbrush or foam applicator
- Clean, lint-free cloths
- Sandpaper (various grits: 120, 220)
- Tack cloth
- Drop cloth or newspaper to protect the work area
- Ventilated workspace (polyurethane fumes are strong)
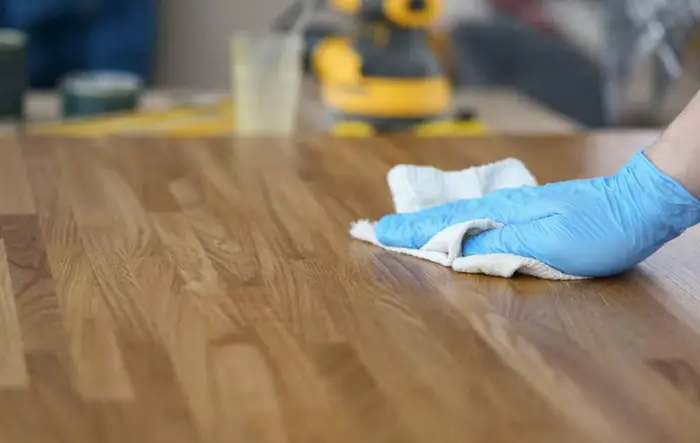
Step 1: Prepare the Wood Surface
- Be sure your project is set up in a well-ventilated area.
- If the wood has a previous finish, lightly sand it with 120-grit sandpaper to remove the old coating and create a smooth surface for better adhesion.
- Before applying each coat of polyurethane, make sure to use either a vacuum or tack cloth to effectively eliminate any lingering sand.
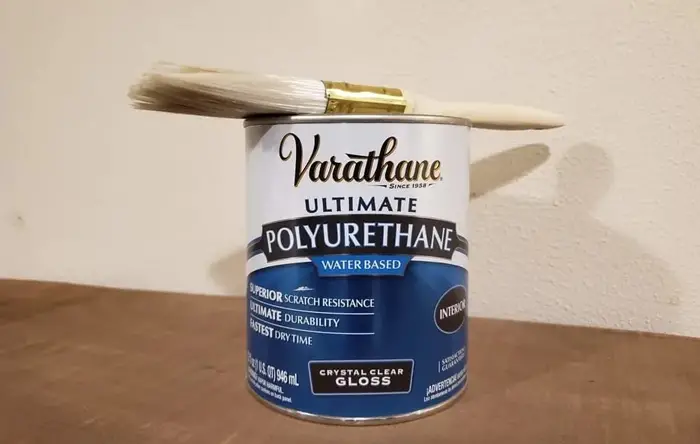
Step 2: Choose the Right Polyurethane and Tools
The choice between oil-based and water-based polyurethane depends on several factors. This includes the type of wood, the desired finish, and the intended use of the finished piece. Here are some guidelines to help you make the right decision:
Use oil-based polyurethane if:
- You want to add warmth and depth to the wood’s color.
- Durability is a top priority, especially for surfaces that will endure heavy use or frequent exposure to moisture.
- You are working on a large project that requires more working time during application.
Use water-based polyurethane if:
- You want to maintain the wood’s natural color or use it over light-colored stains.
- Quick drying and low odor are essential for your project environment.
- You are working on smaller projects or intricate details that require faster drying times.
Step 3: Stir the Polyurethane
Prior to application, Ensure you wear chemical-resistant gloves when dealing with polyurethane. Gently stir the polyurethane using a wooden stirring stick, craft stick, or plastic spoon to ensure an even distribution of pigments. Refrain from shaking the container, as this may introduce air bubbles.
Step 4: Test in an Inconspicuous Area
Before applying polyurethane to the entire surface, conduct a test in an inconspicuous area to ensure you are satisfied with the finish. This allows you to make any necessary adjustments before proceeding with the entire application.
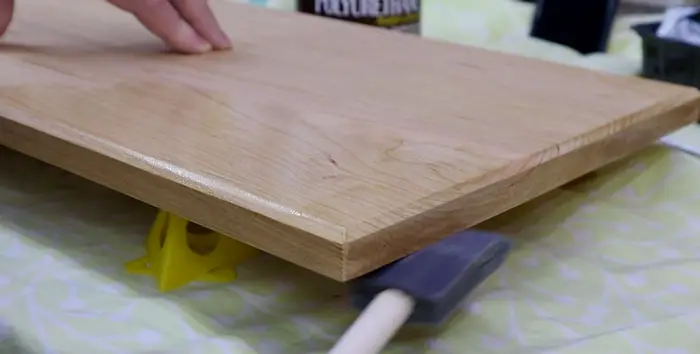
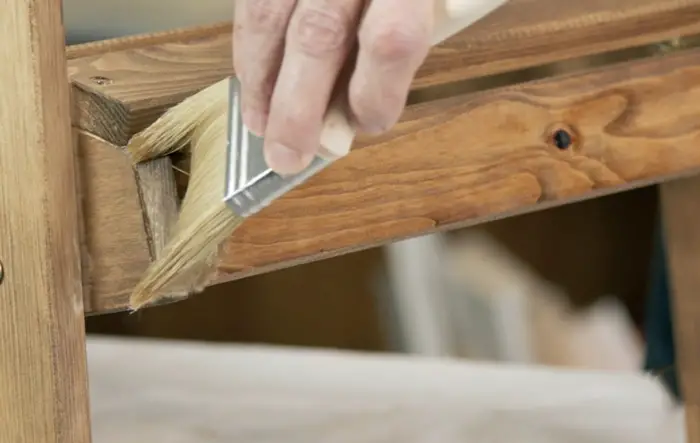
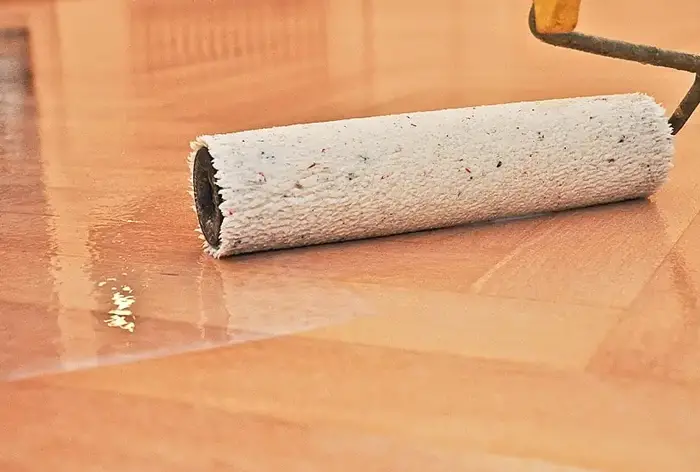
Step 5: Apply the First Coat
- Use a foam brush, natural bristle brush, rag (for wipe-on formulas), or spray-on finish to apply the first coat of polyurethane.
- For a smooth finish and to avoid brush marks, apply thin coats in long, even strokes, following the natural direction of the wood grain.
- Avoid over-brushing because it causes bubbles or streaks in the finish.
- Allow the first coat to dry according to the manufacturer’s instructions, usually around 24 hours for oil-based. Water-based polyurethane requires at least two hours of drying time between coats, with a maximum of two coats per day.
Step 6: Sand the First Coat
- Once the first coat is dry, lightly sand the surface with 220-grit sandpaper. This aids the removal of any imperfections, bubbles, or dust particles that may have settled on the wood.
- Also, wipe off the sanding dust with a tack cloth.
Step 7: Apply Subsequent Coats
- Repeat the application process for the second and, if necessary, the third coat. Most projects require at least two coats for adequate protection and a rich finish.
- Allow each coat to dry completely before applying the next one. Remember to sand lightly between coats and wipe away the sanding dust.
Step 8: Final Sanding and Finishing
After applying all the coats, do a final light sanding with 220-grit sandpaper to achieve an extra smooth surface. Wipe away the dust with a tack cloth to ensure a beautiful wood finish.
Step 9: Allow to Cure
Allow the final coat to cure fully according to the manufacturer’s instructions before using the wood surface. This curing period ranges from a few days to a couple of weeks, depending on the type of polyurethane used.
The curing process of polyurethane typically spans 2 to 3 days, resulting in a more robust finish and reduced odor. During this period, handle the surface with care.
For the polyurethane to reach its maximum durability, a full curing time of 30 days is necessary. Keep in mind that higher humidity levels can extend the curing time further.
Step 10: Clean up
Maintain your brushes and tools in good condition by cleaning them with mineral spirits after using polyurethane. This helps remove residue effectively.
What Are Mistakes To Avoid When Applying Polyurethane?
Some precautions are essential to achieve a flawless and professional finish when applying polyurethane to wood. Here are some mistakes to steer clear of during the application process:
- Over-brushing, which leads to the formation of bubbles and brush marks.
- Applying thick coats. It results in uneven drying, extended curing time, and potential drips and sags.
- Neglecting proper surface preparation. Otherwise, it leads to poor adhesion and a less smooth finish.
- Not using a tack cloth to remove sanding dust. It causes dust particles to become trapped in the polyurethane.
- Ignoring temperature and humidity. This leads to improper drying and curing. For optimal results, apply water-based polyurethane in an environment with a temperature ranging from 60 to 90 degrees Fahrenheit and humidity levels below 60%.
- Using worn-out brushes or applicators. It results in uneven application and streaks in the finish.
- Skipping test areas. It leads to surprises or dissatisfaction with the final finish.
- Rushing between coats. It compromises adhesion and overall finish quality.
- Applying polyurethane in dusty environments. It causes imperfections and blemishes in the finish.
- Applying in direct sunlight. It results in premature drying and possible brush marks.
FAQs
Here are questions people also asked concerning how to apply polyurethane to wood and their answers.
Q: Can I use polyurethane on exotic or oily woods?
Yes. But exotic or oily woods may have natural oils that interfere with polyurethane adhesion. Before applying, wipe the wood surface with a suitable solvent (e.g., mineral spirits) to remove any oils and ensure proper polyurethane bonding.
Q: Can you apply oil-based polyurethane over a water-based stain?
Yes, it is possible to use oil-based polyurethane over water-based stains. Nevertheless, ensuring that the water-based stain has thoroughly dried before applying the oil-based polyurethane is crucial. Allowing sufficient drying time guarantees optimal adhesion and a successful application.
Q: How long should I wait before applying water-based polyurethane over an oil-based stain?
It is generally advisable to wait for a minimum of 72 hours before applying water-based polyurethane over an oil-based stain. This ensures proper adhesion and a successful polyurethane application.
Q: What is the drying time for a water-based stain before applying polyurethane?
Water-based stains dry in 3 hours, oil-based in 8 hours, and lacquer-based in 12 hours before applying polyurethane. Drying times depend on temperature, ventilation, and humidity.
Final Word
Applying polyurethane to wood is a gratifying process that enhances the wood’s natural beauty while providing essential protection. By following the step-by-step guide in the article, you’ll easily achieve a professional finish.
However, whether you opt for oil-based or water-based polyurethane, it’s essential to consider the pros and cons and choose the right one for your project. Remember to prioritize safety by working in a well-ventilated area and adhering to the manufacturer’s instructions.