How To Get Bumps Out Of Polyurethane Finish?
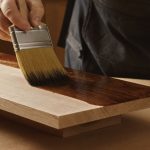
Polyurethane is generally considered the best finish used on the wood which gives plenty of variations. However, the preparation method for polyurethane finish should be followed carefully. Otherwise, bumps and uneven texture would come in front.
Now, how to get bumps out of polyurethane finish? Only sanding with 320 or 400-grit or finer-grit sandpaper would clear out the bumps. If it does not work, scraping the whole layer of polyurethane is the last solution. After reapplying the coating would give the desired finish on the surface.
Well, you should definitely know the reason behind the bumps in order to proceed further in applying the finish. To facilitate that, the reasons and solutions for solving the bumps caused by the polyurethane finish are added below. Let’s get into it.
How To Get Bumps Out Of Polyurethane Finish?
Bumps can be formed at any time during the application of coating. It can appear when the finish is still wet and sometimes when the finish is completely dried. No matter when the bumps arise, you can adopt the methods below to get rid of the bumps.
Step 1: Pop The Bubbles
Before the polyurethane coat is dried, pop up the bubbles.
Well, bubble means trapped air. So when the air is allowed to diffuse, the bubble would get flattened. Then, you can put the coat of finish to even out the surface. Use needles or a brush to pop the bubbles.
Step 2: Wipe A Bit
Use a clean cloth to wipe out the bumps. Only wipe the damaged or faulty areas. Afterward, use a thin stroke of the brush to correct the texture.
Step 3: Sanding
Generally, the bumps will be observed as soon as the coating of polyurethane is applied.
The first measure should be sanding the surface. After applying the first coat, check out for bubbles. Let the coat dry for 24 hours. If the bubbles appear after drying the coat, adopt the sanding method.
Next, properly sand the material with 400-grit sandpaper. The bumps will no longer appear on the top.
Step 4: Peel Off The Finish
If sanding does not work on the dried finish, there is no other option than peeling the whole finish. Afterward, you can reapply the finish coat and proceed to work.
Generally, sanding with 120-grit sandpaper scrapes off the polyurethane or any layer. Try sanding with coarse grit sandpaper. But do not sand too much which can lead to the exposure of bare surface.
Apart from that, chemical strippers and heat guns are also used to peel off the finish. But it is better to perform these methods under controlled supervision. Because you would need proper protection before applying such methods.
Note:
Smaller bumps can vanish with proper sanding. But larger bubbles are hard to deal with. If sanding does not work, contact the professionals. They would refinish the coat and take care of it.
How Do Bumps Form In The Polyurethane Finish?
To prevent the build-up of bumps, you need to know what are the reasons behind bump formation. Here the reasons for the bumps in the polyurethane finish are described.
Bubbles
Bubbles are formed due to the trapping of air. When the air gets trapped between the coat and the surface, bubbles are formed.
Apart from that, improper adoption of the procedure method also leads to bubble formation.
Uneven Texture
When the surface is not properly sanded prior to applying the coating, the uneven texture becomes visible after drying.
Well, a surface can have cracks, holes, and uneven texture. All these should be cleared out before the application of polyurethane.
Otherwise, the uneven texture would get visible after the application of polyurethane and appear as a bump.
Extraneous Matters
Leaving the extraneous matter on the surface without wiping it, would certainly form bumps.
The coat of finish would form a layer over the extraneous matter and this will form unevenness on the surface.
Marks
A bump can appear on the surface of the application process if the polyurethane is faulty.
Too much pressure during the use of brush would leave marks on the surface which would later seem like bumps.
Why Do Bubbles Form In Polyurethane Finish?
One of the common and disturbing bumps observed in the polyurethane finish is bubbles. And the prevention of bubbles can be facilitated by following simple measures. Those measures are highlighted below.

Shaking The Can
The Can Of Polyurethane should not be shaken prior to use. Shaking can form bubbles inside the can and later when applied on the surface, an uneven texture would be observed. Which seem like bumps on the surface of the material.
Brush Preparation
Brush preparation can influence bump formation during applying finish. Well, the brush needs to be soaked prior to taking polyurethane on it. Or else, bubbles can accumulate during the application process.
Incorrect Brush
Well, not all brush is suitable for polyurethane application.
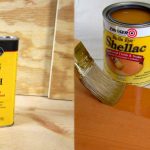
Mainly, a synthetic brush is suitable for applying water-based polyurethane. While natural and packed bristle brush is used for the application of oil-based polyurethane.
Improper selection of brush can also lead to bump formation. Because the coat is not spread evenly and consequently air can get trapped.
Improper Surface Preparation
The surface of the material should be prepared before the polyurethane coat is applied.
Any wax or silicon layer on the surface would lead to forming a bump. Also, any prior coloring or presence of a coat of other finish can also cause a bump.
Striping out the present coating from the surface before applying the polyurethane would reduce the chance of bubble formation.
Using Rough And Quick Strokes
Quick strokes of brush would cause the trapping of air between the surface and the coat. As a result, the bump will be visible.
That’s why, drag the brush slowly over the surface to apply the polyurethane. Using a thin coat of polyurethane is highly recommended by professionals.
How To Apply Polyurethane Without Getting Bumps?
The build-up of bumps can be entirely prevented by following the proper method of polyurethane application. Follow the steps below to know the right method of applying polyurethane.
Step 1: Prepare The Brush
Soak the brush before putting on the polyurethane.
For oil-based polyurethane use mineral spirit and for water-based polyurethane use warm water. Keep the brush for several minutes and let it soak fully before taking it out.
The brush should be kept as long as a bubble is formed through the ferrule. When the bubble is not formed anymore, take the brush out.
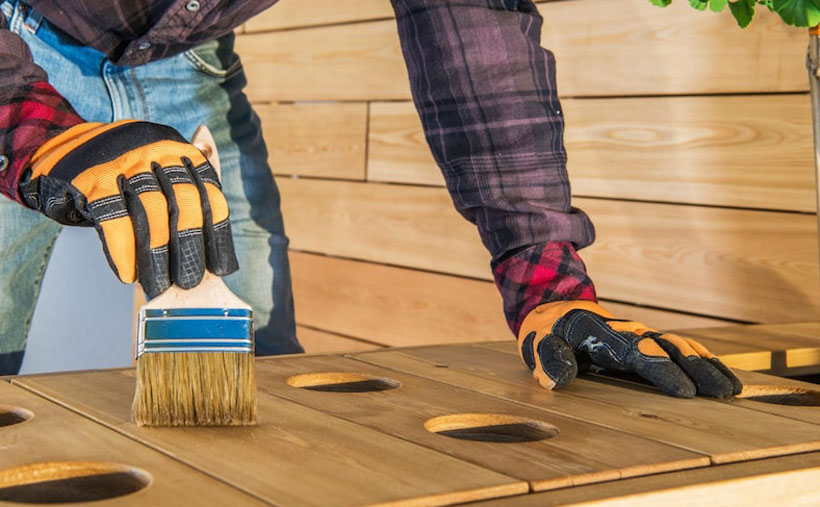
Step 2: Prepare The Surface
The surface should be dust free and any contaminants should not be present. Any extraneous matter can create an uneven coating on the surface. At the same time, the air would also get trapped due to the extraneous particle Thus, bumps can be formed.
That’s why, the right preparation of the surface is required. For this, sand the surface with 120-grit sandpaper first to clear out the marks. And next proceed with 80-grit sandpaper.
You can also try using 240 or 320-grit sandpaper to smoothen the texture if needed. After sanding, wipe the surface and the residual dust.
Lastly, wipe the surface with oil in case of applying oil-based polyurethane. Wiping with rectified spirit is suitable for both oil-based and water-based polyurethane.
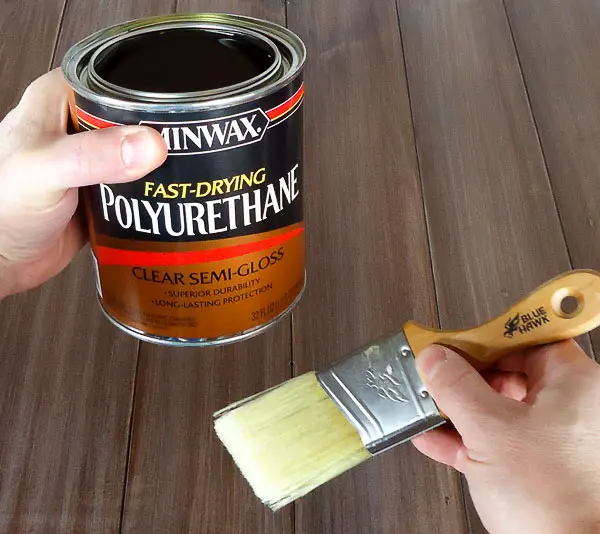
Step 3: Stir The Can
Stirring the can before taking out the polyurethane is required to ensure the proper mixture of coating is applied on the surface.
Do not stir the can vigorously or shake it. Rather use slight pressure to stir the finish.
Step 4: Apply Coat
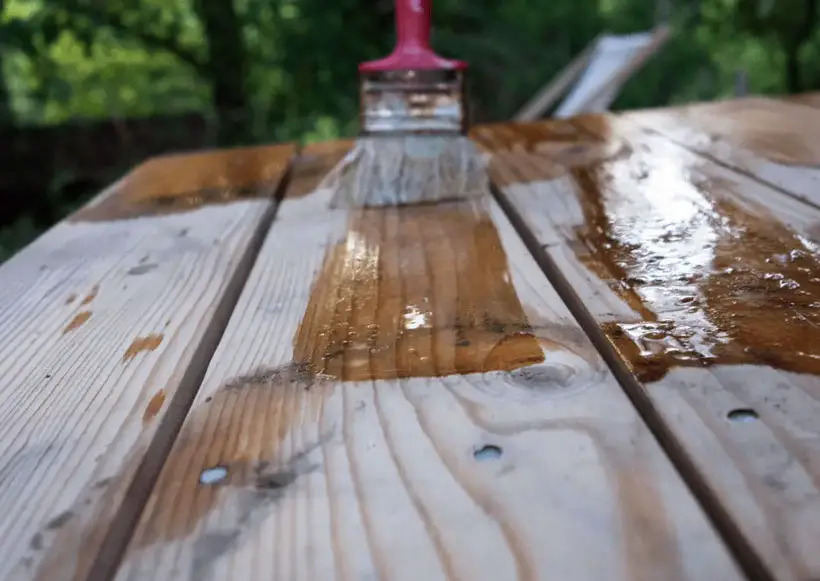
To apply polyurethane, take a thin coat of the finish. The first coat should be always thin. Make slower strokes of the brush to cover the surface with the coat. Otherwise, air would get accumulated.
If the bubble is observed, wipe them away slowly with the thin brush stroke before they are dried up. Apply two thin coats of polyurethane and let it dry.
Step 5: Sanding
After the coat is dried, sanding should be done before reapplying another coat.
If there are any bubbles present after drying, sanding will get rid of them. Afterward, you can apply another coating.
If sanding does not work, try popping the bump if possible. But it would hardly do any work. Or else, leave the work to professionals.
Step 6: Apply The Final Coat
Now the final coat of polyurethane should be thick and applied with caution. Slow strokes of brush can apply the coat evenly and give a smooth finish. Carefully apply the finish so that further bumps are not formed.
Now let the coat dry and cured. Afterward, you will get the perfect finish on the material.
You can also follow the below youtube video for a guide.
FAQs
Let’s go through some of the frequently asked questions.
Q: Will sandpaper remove polyurethane?
Yes, 150 grit of sandpaper can easily remove the coating or polyurethane. Well, the coarser grit sandpaper can remove any surface layer of paint and finish.
Q: Is it better to spray or brush on polyurethane?
Spraying allows the proper distribution of the coating all over the surface. If it is possible, using a spray gun to spray the polyurethane would facilitate the whole application process.
Q: How many coats of polyurethane should be applied?
Two to three coats of polyurethane are sufficient to polish the wood or other surface. The first coat should always be thin while the end coat should be thick.
Bottom Line
So, how to get bumps out of polyurethane finish covers the common methods applied to the finish when the bump is observed. Generally, the proper application procedure for polyurethane finish can prevent the formation of bumps.
Well, the perfect finish on wood highly depends on the application of the coat. You can use both water-based or oil-based polyurethane depending on preference. Nevertheless, the preparation method for each type of polyurethane finish should be followed carefully or else, bumps will occur.