How to Clean Wood Before Staining? Don’t Forget These Steps!
In fact, applying stain on the wood is comparatively easier. But the difficulty lies in the preparation phase. Before applying any stain, you need to clean the wood surface properly.
But how to clean wood before staining? Cleaning wood before staining includes paint or wax removal, sanding, and dusting. Popping the grains and conditioning the surface is also necessary before staining.
I will guide you through every step of the process so that you get the desired finish on the wood surface after staining it. Let’s begin.
How to Clean Wood Before Staining: Step-by-Step Guide

Before you start cleaning wood for staining, you need to organize the following tools to make the steps easier.
- Paint remover
- Scraping tools
- Wax remover or mineral spirit
- Clean rag
- Sandpaper
- Vacuum cleaner
Once you have all the items handy, move on to the steps below.
Step 1: Removing Paint from Wood
If the wood surface you want to stain is painted, you need to remove the paint before anything else.
- Apply a paint remover to the painted surface and let it work for some time.
- After a few minutes, the paint will become loose and you can peel off the paint layer. If any part of the paint is difficult to peel, you can use a scraping tool to scrape off the paint.
Step 2: Removing Wax from Wood
If the wooden surface has been waxed previously, it is crucial to remove any wax from the surface before staining it.
- First of all, you need to apply a wax remover to the wood surface. If you don’t have a wax remover, you can also use mineral spirit.
- Wear protective gloves while applying mineral spirit. After some time, rub off the wax layer using a clean rag. Remember, you shouldn’t use any abrasive material to rub off the wax layer. Otherwise, it will damage the texture of the surface.
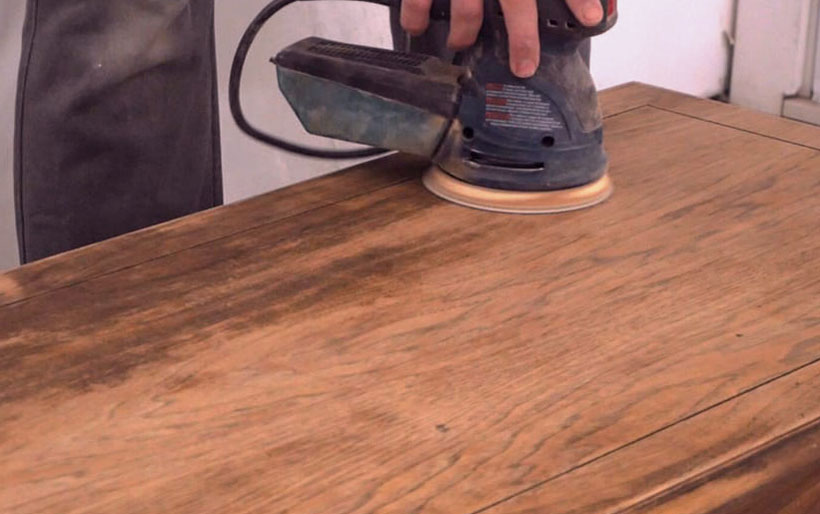
Step 3: Sanding the Wood Multiple Times
Sanding is the most important part of the cleaning process. You can remove any residue from the previous steps or any roughness on the wood surface through sanding. But you have to follow the right techniques.
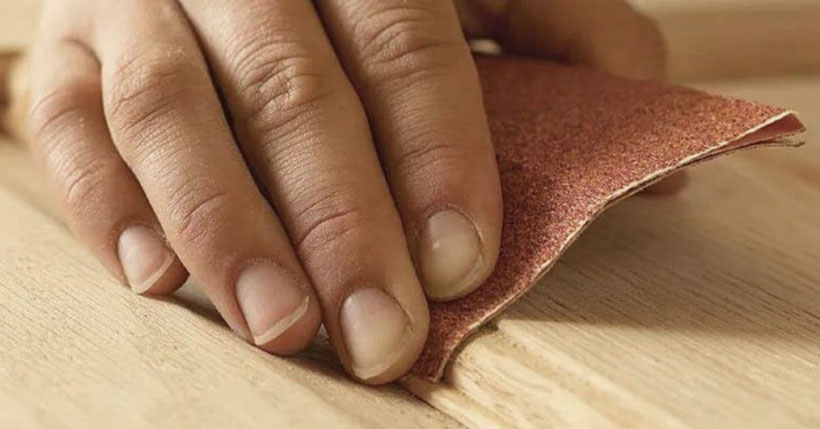
- The first phase of sanding will require lower-grit sandpaper. Use a 60/80-grit sandpaper in the beginning to remove the residue and reduce the roughness of the surface. Instead of sanding the wood manually, you can also use an orbital sander.
- Once the first phase is complete, remove the dust using a vacuum cleaner or dry cloth.
- Then, sand the surface again, but this time with higher-grit sandpaper. 150-grit sandpaper will be good for this phase. It will ensure a smoother surface.
- After the sanding is done, you need to vacuum the surface again.
- Then, use a tack cloth to remove any dust from the surface. Remember, stains won’t stick to the surface properly if there is dirt or debris on the surface.
Step 4: Popping the Grains
If you are doing a DIY project, chances are you might not know how to pop the grains. Popping the grains means opening the wood pores to prepare them for accepting the stain.
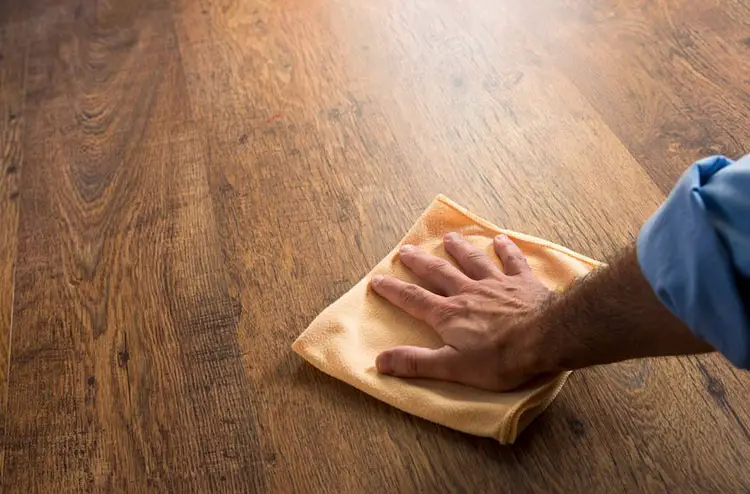
- To pop the grains, you need to make the wood surface wet. Take a lint-free clean cloth and make it wet. Water shouldn’t drip from the cloth, but the cloth should be moist.
- Then, wipe the wood surface with a cloth. It will make the wood pores open up.
- Now, the wood surface is ready for the next step.
Step 5: Conditioning the Wood
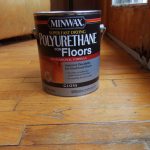
This step isn’t required for all stains. If you use gel stains, you don’t need to condition the wood. But if you use water-based or oil-based stains, applying conditioner is necessary.
- Apply the conditioner to a lint-free cloth and then wipe the surface with the cloth.
- Leave the wood for a few minutes after applying the conditioner. And that’s it. You have successfully cleaned the wood for staining.
Should I Clean Wood Before Sanding?
Cleaning before sanding is an argued method. Some prefer cleaning the wood after sanding because they don’t want to clean the wood twice. But if you don’t clean the wood before sanding, it can create problems.
When the paint and wax aren’t removed from the wood surface, sanding doesn’t deliver the desired result. If you strip the paint and wax layers before sanding, the surface will be much smoother after sanding. So, it is better to clean the wood before sanding.
If you’re looking for tips on how to properly clean wood before staining, our guide on should you sand after staining might provide insights into achieving the best results for your woodworking project. Moreover, if you’re considering staining wood in colder weather conditions, our article on can you stain wood in cold weather is here to offer guidance. We understand the importance of achieving the best finishes and addressing specific application techniques, and our comprehensive resources are designed to help you navigate and make informed choices for your woodworking projects.FAQs
Many people ask the following questions when it comes to cleaning wood before sanding. So, I answered them for your convenience.
Q: Can I use a homemade wood cleaner before staining?
A: Yes, you can. Warm, soapy water can be a very good homemade wood cleaner. It helps remove oil and wax from the wood surface. The surface needs to be dried after you clean the wood with this.
Q: Is mineral spirit good for cleaning wood before staining?
A: Of course. Mineral spirit works great for cleaning any residue or grime from wood surfaces. Plus, no swelling of the wood grains happens when you apply mineral spirit. So, you can use it for cleaning the wood surface.
Q: Is cleaning outdoor wood before staining necessary?
A: Yes. Outdoor wood needs more rigorous cleaning than indoor wood before staining. You need to remove the paint and wax first. Then, pressure wash the surface and sand it properly.
Final Thoughts
Let’s get one thing straight. Cleaning is a step that you can’t avoid if you want the surface to have its luster after staining. If the cleaning part isn’t done well enough, the stain won’t stick to the surface well and dull the look of the surface.
So, knowing how to clean wood before staining is crucial. I showed the whole cleaning process in simple steps. You should follow these steps in the right order to make sure the wood surface is fully ready for the staining part.