How to Install No Bore Concealed Hinge? | Learn Proper Installation Procedures and More
Installing a concealed hinge can be a great way to update the look of your cabinets and furniture. If you are looking for how to install no bore concealed hinges, then you are in the right place.
To install no-bore concealed hinges, you need to go through some necessary steps like buying well-concealed hinges, placing them on the cabinet by measuring the size, etc.
They are also known as “No Bore” hinges because they provide a clean, finished look since there is no exposed hardware. This can make the installation process a bit more challenging, but with a few tips, you can easily install no-bore concealed hinges.
Necessary Tools to Install No Bore Concealed Hinges
If you’re looking for a sleek, modern look for your cabinets, installing no-bore concealed hinges is the way to go. But before you get started, you need to make sure you have the right tools. Here’s a list of the necessary tools to install no bore concealed hinges:
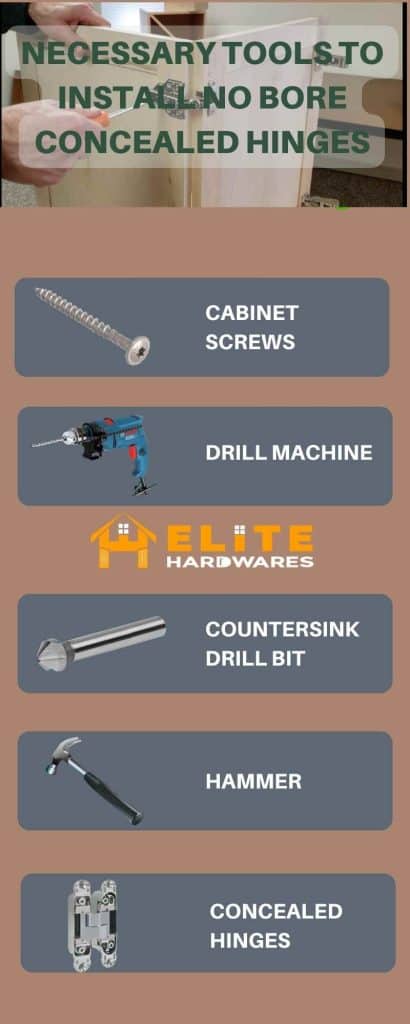
- Drill
- Drill bit (5/32″ or 3mm)
- Drill stop
- Hammer
- Chisel
- Cabinet screws (1″ or 25mm)
- Concealed hinge template
With these tools in hand, you’ll be able to install your no bore concealed hinges like a pro!
How to Install No Bore Concealed Hinge
To install the no-bore concealed hinge, you need to be precise. Here are the necessary steps given below-
Step 1 – Choosing No Bore Concealed Hinges
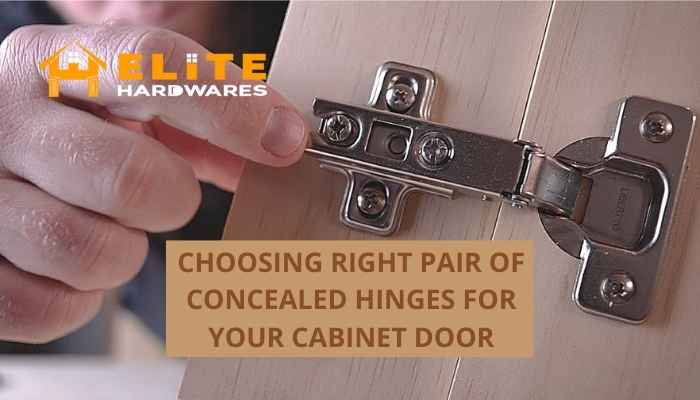
Do you know why they are known as concealed hinges? Because they are hidden from view when the cabinets are closed. One of the alternatives that you can use on your doors are surface mount hinges.
There are a variety of concealed hinges that you will find in the market right now. Here are some of them.
| No Bore Concealed Hinges | Base Dimensions |
| 170 Degree Easy-On No Bore | 2 Inches X 1-0.875 Inches |
| Small 90 Degree No Bore | 0.62 Inches X 0.875 Inches |
| 90 Degree No Bore Nickel Plated | 1-0.875 Inches X 4-0.5 Inches |
| 175 Degree No Bore | 2 Inches X 1-0.875 Inches |
Here is a link down below to understand all about different concealed hinges and many more –
Step 2 – Placing the Hinge on the Door
After purchasing the suitable no bore concealed hinge from the store or ordering online, you need to install it in the door. Follow the steps below to place the hinge on the door –
- Lay the door face down on a flat surface with the hinge side facing you.
- Measure and mark 3.5 inches (approximately 8.9 cm) from the top and bottom edge. Make sure both markings are even so the cabinet door will open and close evenly.
- Place the hinge on the door and mark the distance from the edge. Use a pencil to mark around the hinge so that you can install the hinge precisely later on.
Step 3 – Drill the Places Marked on to Install the Hinge
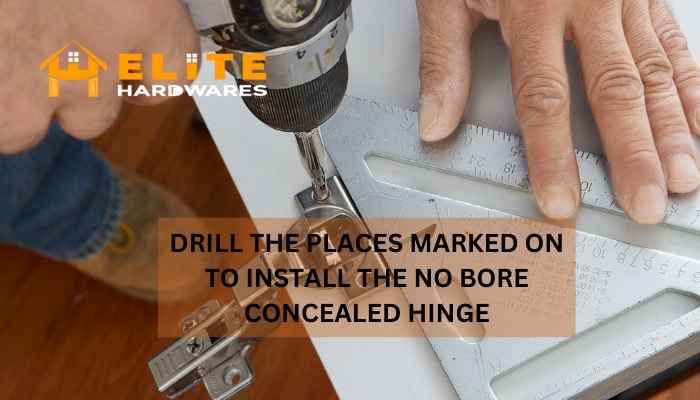
After marking, make a 0.5-inch depth hole by using a Forstner drill bit. This will help to install the hinges properly and securely. Make sure the line depth is exact, otherwise your hinges will not fit properly.
Also, bore the drill at the center where you have marked. Misplaced boring will make the hinges nonfunctional.
Step 4 – Insertion of Hinge Cups
Take the convex hinge cup and put it where the holes are dug inside the cabinet door. After that, drill the screws through the holes so that the cup can fit properly.
Make sure you are using the screws provided with the hinges.
Step 5 – Position the Door Correctly and Measure the Gap
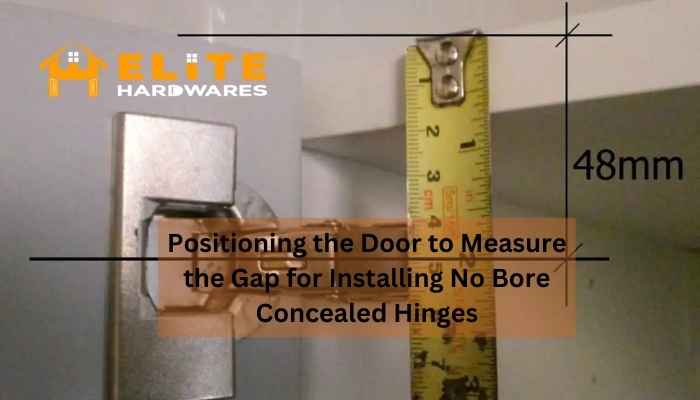
Positioning the door properly is essential as they need to function correctly. So, shim the door against the cabinet and measure the small gap using a ruler. Take the exact and accurate measurements.
Then, measure the distance from the edge at the front of the cabinet door itself. Use rulers for the measurement.
Step 6 – Aligning the Mounting Plate
Lastly, you need to align the mounting plate where the lines cross. Drill the screws into the places of the mounting plate. If the mounting plate is still moving, it means the drilling was not done properly.
After that, attach another mounting plate to the cabinet the same way. By finishing these steps, you are almost done.
Open and close the door for some time to check whether they are in a perfect position or not.
Frequently Asked Questions
Do I Need to Reinstall No Bore Concealed Hinges If They Do Not Function Properly?
If your No Bore Concealed Hinges are not functioning properly, you may need to reinstall them. With a few tools, it can be done very easily.
- Remove the old hinges using a screwdriver or a drill.
- Install new no bore concealed hinges.
- Make sure they are properly aligned before attaching or not.
Make sure they are properly aligned before attaching them, as this can affect how well they work.
Are No Bore Concealed Hinges Different from Other Concealed Hinges?
Yes, No Bore Concealed Hinges are different from other concealed hinges. They are specially designed for doors that don’t have a bore (a hole) drilled in the door.
This makes them perfect for use with doors that have glass, metal, or other non-porous surfaces. No Bore Concealed Hinges are also different because they are much easier to install.
Most other concealed hinges require special installation tools and techniques, but No Bore Concealed Hinges can be installed with just a few simple tools.
Final Words
It can be troublesome if you do not know how to install no bore concealed hinge. As these hinges differ from other hinges, you should make sure to install them properly.
In this modern generation, people recommend no-bore concealed hinges because they have better functionality and design. Rather than having exposed hinges, people prefer concealed hinges a lot.

