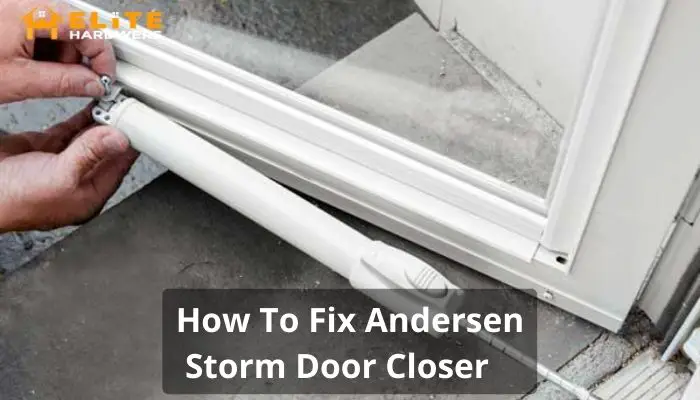
How to Fix Andersen Storm Door Closer?
Storm doors are one of those doors that slowly close automatically after opening. While the number of these types of doors is abundant, there’s no topping the list when it comes to the Anderson storm door closers. They’re well built, designed, and last a lot longer than most storm doors.
However, even though the Anderson storm door closers are quite smooth door closers, at times, situations might pop up where one is having a hard time getting the door to close. Issues like this are common, which is why it’s crucial to know how to fix Andersen storm door closer with proper tricks and tips.
Fixing the Anderson storm door closers is not too hard and can be done easily by oneself. However, without knowing the causes of the problem, it’s not possible to fix it. To learn in-depth how you can fix the Anderson storm door closer, read on.
What Causes Andersen Storm Door Closer Problem?
You might come across an Andersen storm door troubleshooting for several reasons. Among that, the most common causes of the Anderson storm door closer problems are-
- The retractable insect screen getting misplaced: This problem is noticed when one of the retractable insect screens isn’t engaged or if the truck stops aren’t aligned to each other.
- Noisy closer: You’ll encounter a noisy closer when the notches are dislodged, or the rod that’s connected to it is a bit bent. When that happens, you’ll hear a clicking sound when the Anderson door opens or closes.
- Andersen storm door push-button closer stuck: The push-button closer has an end cap sealing which is necessary for the operator to function correctly. When this cap gets broken or lightly hinged, the push button gets stuck.
- Storm door closes too slow or fast: This happens when the closer has loose adjustments, or the position is lowered or raised than it should. Sometimes, temperature changes also affect the speed of the screen door closer.
- Greasy door closer rod: Storm doors operate using compressed air as they’re pneumatic. That’s why it’s not necessary to lubricate storm door closer. Any greasy or oily texture is the result of accumulated dirt, lubricant, debris, or condensation on the rod.
- Storm door doesn’t close fully after closing the entry door: If you face this problem, the likely cause for this situation is when air gets trapped between the storm door and the entry door.
When a vacuum is created between the two doors, it becomes hard to close fully after closing the entry door fully.
Tools Required To Fix Andersen Storm Door Closer
To fix storm door closer ripped out or any other issues related to the door closer, you’ll need a couple of tools like-
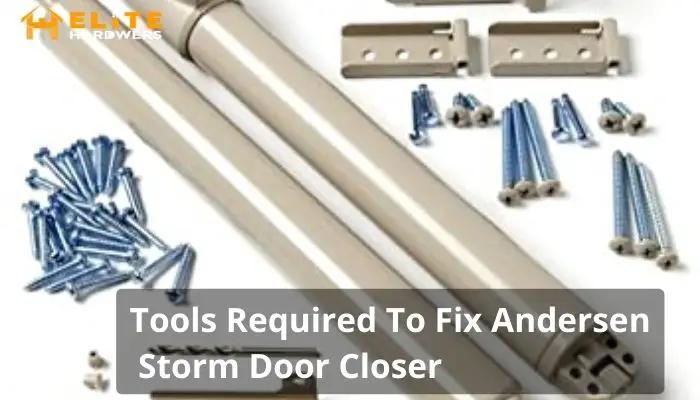
- Adjustment screws
- Vise grips
- Bench vise
- Hex wrench
- Philips drill head bit
- Multi-bit Screwdriver
How To Fix Andersen Storm Door Closer?
It’s common to come across door issues, as we mentioned above. But when you do, How do you fix a storm door closer?
There are some easy fixes to these common issues like-
Adjust the Insect Screens
A properly adjusted insect screen locks the upper and lower frame and keeps the door closer to stay in position. When it gets misplaced, how do you adjust an Andersen storm door closer?
All you have to do is-
- Mark the location of the upper and lower screen track.
- Loosen the screws with a screwdriver
- Slowly align the marks on the track and tighten with a hex wrench from the anderson storm door closer kit.
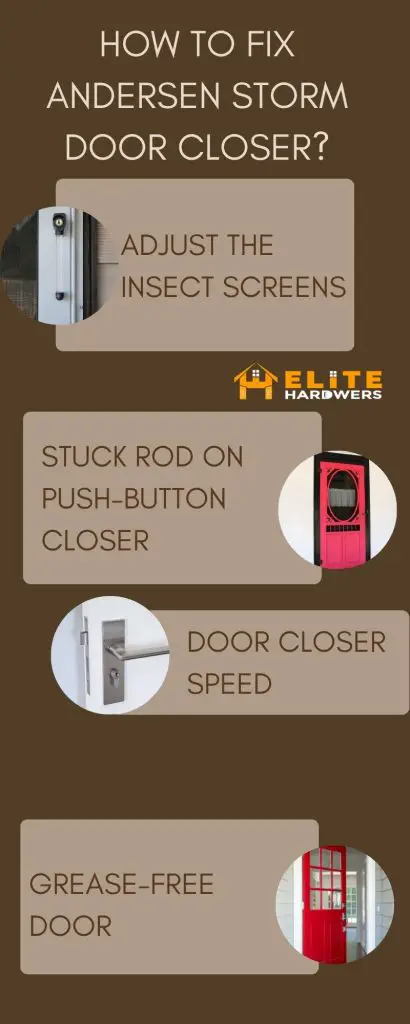
Stuck Rod on Push-Button Closer
The storm door doesn’t close properly and gets into an extended position when the push button is stuck. To fix it-
- Disconnect the push-button by removing the short pin from the Jano bracket and the long pin from the door bracket.
- Then remove the adjustment screws with the screwdriver.
- Use the vise grips to pull a rod back and insert the screwdriver into the other end.
- Count till 5 and hold it until the release
- Reattach the push-button closer once the rod retracts.
Read More: Best Commercial Door Closer Reviews – Top 5 Latest Picks
Door Closer Speed
If you’re confused how to adjust door closer speed, there’s nothing too hard about it; all you have to do is-
- Remove the closer adjustment screw from the end of the closer.
- Take an adjustment screw and reinstall the end you just removed it from. If you’re unable to open it with your hands, use a bench wise to open it.
- Open the door fully and close it once.
- Take the screwdriver and turn the adjustment screw counterclockwise if it’s fast and turn it clockwise if it’s slow.
- Test the door once done and adjust further to get the desired speed.
If you face issues like the storm door not closing fully after closing an entry door, this process will fix this issue as well. Fixing the speed of the closer removes the vacuum trapped between the two doors, which ultimately lets the door close fully after closing an entry door.
Grease-free Door
To fix a greasy Anderson storm door, simply-
- Remove the dirt or residue.
- Take a clean cloth or paper towel to wipe off the closer rod.
- Repeat this process once or twice a week.
How Long Does A Storm Door Closer Last?
Storm door closers are a standard and common item for use in residential homes. The Anderson storm door closer is well built with good materials and will last you from 10 to 15 years if kept in maintenance.
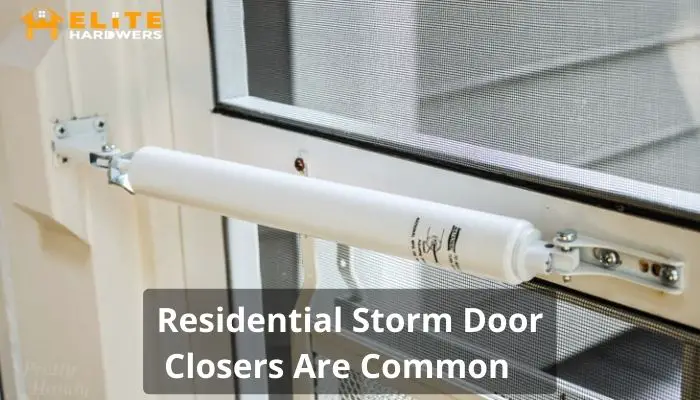
Apart from slight maintenance problems, you won’t face other major issues with a good built-up storm door closer.
Final words
Storm door closers are quite convenient and comfortable to use when they last longer, especially a good-built storm door like the Anderson storm door closer. However, over the years, due to adjustment or mechanical issues, you might come across some common storm door problems over the years due to adjustment or mechanical issues.
Hence why we’ve tried to tell all the ways of how to fix Anderson storm door closer, so that next time you come across an issue, you don’t panic. If you follow all the processes we mentioned above carefully, you might not need a mechanic and can fix the issue all by yourself.