Effective Solution On How to Fix Pocket Door Scratching?
Scratched doors are common with a long-day use of the doors. It can be aggravating since the scratched doors can drive you insane.
In the long term, it just destroys the beauty and natural view of the doors. Do you know how to fix pocket door scratching? Or how to get rid of all the noises and scratching?
Fortunately, you can resolve this issue with only a few tools, supplies, and a basic understanding of how to proceed.
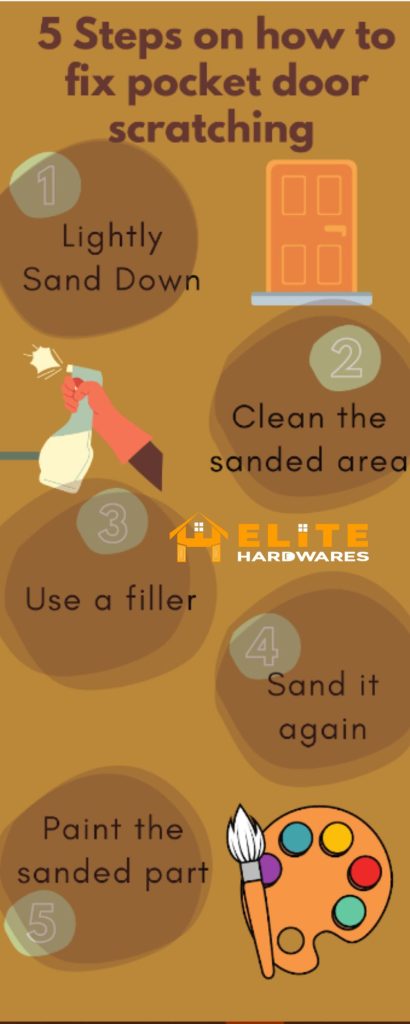
In short, you need to follow 5 easy steps. Lightly sanding down, cleaning the area, using a filler, sanding again, and painting the sanded part. The scratching should be gone.
However, we are going to explain the process to make it easy for DIY. Let’s dive into the deep.

How May A Pocket Door Get Scratched?
In order to perfectly open and close, your pocket door needs a place to properly slide into. The problem occurs when any form of tool or timber gets stuck inside this sliding cavity.
When you keep sliding your pocket door with a cavity full of excess timber, they cause significant scratches to your door.
If you are facing these scratching issues and looking for a way to fix a pocket door that rubs, please, proceed with the following steps.
How To Fix Pocket Door Scratching?
In order to fix your door scratching issues, you need to learn how to trim a pocket door. And learning this requires a few vital items. For this project, you’ll need light sandpaper, wood filler, and a putty knife. You’ll also need the stain or paint to conceal the repair once completed.
Let’s get started with the step-by-step instructions.
If you have any idea about how to trim a pocket door or fix a pocket door that rubs, it will be easier for you because the basics are the same.

Lightly Sand Down
This is where your fine-grain sandpaper comes in handy. You’ll need to sand down the scratched portion of the wood with fine sandpaper.
To avoid further damage to the wood door, sandpaper should be moved in the direction of the grain. If you sand against the grain, you’ll end up with even more scratches.
My recommendation:
Always make sure to sand using a well-made sander with precise handling capabilities. I highly recommend using the 5-inch orbit sander from BLACK+DECKER.
Clean The Sanded Area
This procedure is as easy as sanding down the surface and then using water to remove all of the dirt and dust. You risk the filler not bonding with the wood if you leave any sanded-off lumber in the region.
If there are bits left behind, it could be more difficult to make the pocket door look natural.
Use A Filer
You’ll need to get your filler prepared once the surface is clean and debris-free. This stage will be determined by your particular preferences. A wood filler, wax filler, or shellac liquid can be used. For this step, any of these alternatives will suffice.
You’ll also need a putty knife. With that putty knife, apply a minimal quantity of your filler over the sanded portion of your door. After you’ve used the filler, please wait until it’s completely dry before moving on.
Using a wax filler or shellac liquid instead of a regular wood filler could be more difficult. Kindly follow the directions to avoid causing more damage to your door.
Sand It Again
After the filler has cured fully, sand with fine-grain sandpaper once more. To make the area nice and smooth, sand it down. You have to be cautious here to avoid over-sanding the region. If this occurs, reapply more wood filler and repeat the same process.
Paint The Sanded Part
You’ll want to stain or paint the repaired piece to match the rest of the door after you’ve finished sanding it down. It’s possible that you have the perfect hue in your garage or basement.
If you do, rather than refinishing the entire door, you’ll be capable of covering the mended area.
So the next time someone asks you how do you strengthen a pocket door, you know what to answer.
Final Verdict
Scratches on a wooden door can make it appear dingy and unattractive, which is not what you want. It’s natural to desire to get rid of unsightly blemishes, and thankfully, it doesn’t have to be a difficult effort.
Hopefully, this post has provided you with some useful suggestions about how to fix pocket door scratching. We Hope, the solution would be helpful to get rid of this problem.


