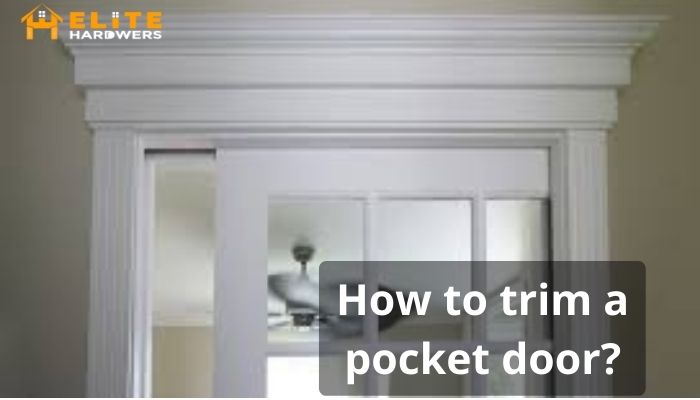
How To Trim A Pocket Door?
Unlike a traditional door that takes a lot of space when opened, pocket doors are on trending now for their specialty of saving it. However, the main dilemma is when the pocket doors don’t blend with your environment and takes out their essence of it.
So, how to trim a pocket door? Well, it is simpler than you think! The trimming only requires four types of tools and materials to get started with it. Moreover, if one is patient enough, one can do it by themselves without any help.
In his article, we will talk about the different tools in detail and provide a step-by-step guide to trim your door perfectly! Nevertheless, let’s see how to do it properly starting with the tools and materials required.
Tools And Materials Required For Trimming A Pocket Door
Knowing the tools required is reasonably necessary before we even get to the steps of how do you trim a pocket door? Even if it appears that all that is required for the finest trim is some glue and precise cutting, this is not the case. To even begin trimming, you will need a slew of different equipment.
Let’s take a look at the pocket door trim kit you will need.
Nail Gun
When trimming a pocket door, the important piece of equipment you will need is a nail gun and some nails. It will be required to secure the plywoods to the metal frame. Nevertheless, we are going to use a Milwaukee cordless framing nailer here as it has served well when it comes to nailing.

Plywoods
As you can already tell, you would need a few sets of plywoods. As per the pocket door jamb detail, it’s recommended that you use plywood that is half an inch thick to be used as your pocket door jambs.
Glue
To help the plywood stick with the pocket door framing a bit better, you can use glue. It has no purpose in the trimming section but for you to get an accurate fit. However, using the Gorilla branded glue here would be the right choice as they adhere well with metal and wood.
Set Square
Well, the most important part of proper trimming that will give your pocket door a fine finish is the use of a set square.
That’s all, you will only need four pieces of equipment to get your trimming done in no time. Now let’s come to the main question of how do you put trim around a pocket door?
How To Trim A Pocket Door?
Even though people make it seem hard, trimming a pocket door isn’t that tough. Moreover, you will surely be able to do it without any help if you follow these steps properly with proper measurements.
Step 1: Glue the plywoods
The first step is to attach the plywood to the pocket door’s metal frame. Start pouring glue from the top of the pocket door frame and move to the end of it. After that, use a set square to adhere the ply of wood to the frame, ensuring that they are equal.
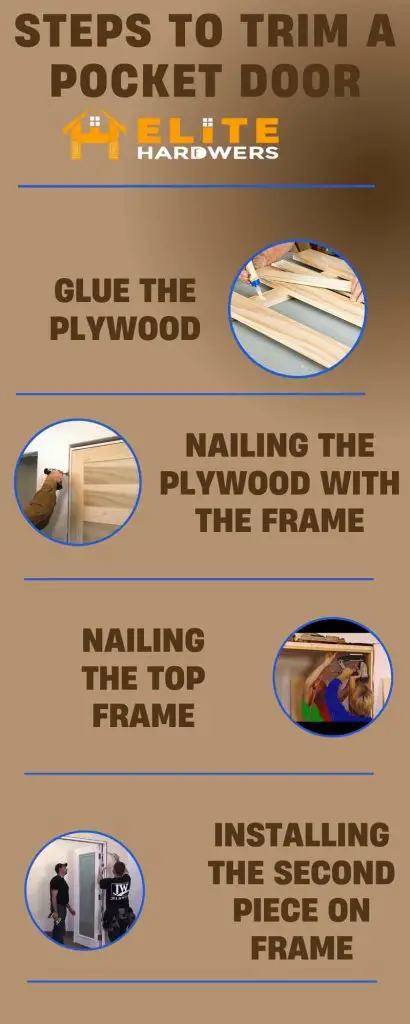
Step 2: Nailing the plywoods with the frame
The next step is to nail trim onto jamb using a nail gun. Since you’ve already positioned the plywood against the jamb, you’ll use the nail gun to secure it, whereas the glue will just serve as a quick measure.
Take a half-inch nail and place it in the area where you want to start nailing; most people begin at the top. Continue nailing the plywood to the frame with an eight-inch space until you reach the bottom of it.
However, make sure you are giving some weight by giving a push at the specific plywood region before applying the nails.
Step 3: Nailing the top frame
After you have completed installing a pocket door and nailing the woods with the metal frame, you will notice an uneven space. Yes, it’s the top frame that doesn’t look good and needs the plywood to even out the finish.
However, the plywood of half an inch will probably interfere with your pocket door railing system and thus a quarter inch is preferred. Nevertheless, there’s no change in the nailing system.
Step 4: Installing the second piece on the frame
In this step, you are going to be needing to install the second piece of half an inch plywood right next to the first one you did on the metal frame. However, you need to make sure that plywood is shaped according to your pocket door.
If there is a pocket door stopper or a guide then you have to make sure that you have made space for them in the plywood.
Wait, don’t put them straight into the metal frame! Instead, nail them into the right side, which is the first plywood.
Note: If you are wondering how to fix pocket door scratching then you should know that your pocket guide is responsible for it.
Read More: Exploring Barn Door Vs Regular Door! (Complete Guide)
Step 5: Opposite side of the door frame
We are not even going to mention it again but closing your door would still look weird as there is another side that needs the same procedure. Right on the opposite side of where you have put on the plywood, do the same there too.
There you go, now you have turned a pocket door no trim into a trimmed one.
How Wide Is Pocket Door Trim?
Before you even know it, getting a different width of your pocket door will lead you to fix a pocket door that rubs. Thus, the smart option for you is to take your own measurement rather than from anyone else. For example, a rocket pocket door trim wouldn’t be the same as Baldwin’s.
Generally, it ranges from 1 to 1/4″ wide but you can always close your door and take precise measurements using a measuring tape.
Conclusion
Now we hope now you are capable of answering people when they ask you how to trim a pocket door? In contrast to its beauty and the bright finish that it can provide, the effort that it takes is nothing. You just need a few household types of equipment and some wood to get the job done.
However, the most crucial thing out of everything is precise measurements. One inch here and there will lead to the worst nightmare of all time.