How to Mortise a Door Jamb Hinge?
The traditional non-mortise hinge is a typical door hinge, but it can be noisy and let unwanted cold and hot air through the door. A new type of mortise hinge is much quieter and will keep the inside of the door cooler in the summer and warmer in the winter. So how to mortise a door jamb hinge?
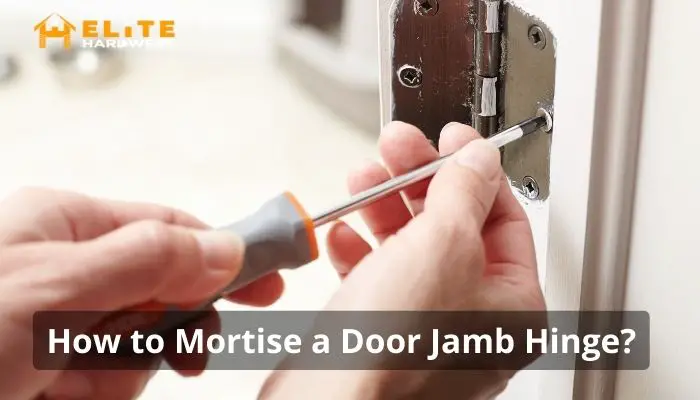
Doors must be mortised to make hinges fit properly—Mortising is making a hole in a piece of wood with a chisel or other tool. The fix is small enough to allow the door hinge to fit snugly but large enough so that the door can open and close quickly.
This guide will elaborate on this topic with additional information.
How to Mortise a Door Jamb Hinge?
Let’s understand the process step by step.
Step 1: Mark the Location
Matching the mortises to a door jamb with hinges is an integral part of the installation process. By marking the locations for the mortises, you can ensure that the door fits properly and functions appropriately.
Make a note of where you want the mortises to go. Put the door just on the jamb as though it had already been put on the door to ensure that the mortises fit the jamb’s hinges. Hold the door wide open with wedges. With a marker, mark the placement of the hinges on the door’s side.
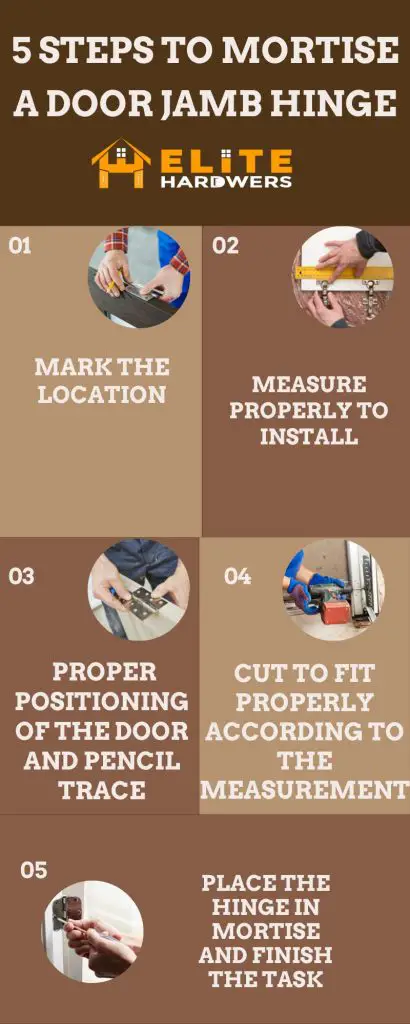
Step 2: Measure Properly to Install
Measure and mark the door hinges to get an accurate reading. It’s essential to measure and keep the hinge locations on your door.
Door hinges can vary in size, so getting those spot-on is essential. The best way to do this is to take measurements from the center of the door to the edge where the hinge meets the frame.
Once you’ve got the measurements, use a pencil or a marker to make a small mark at each location. For example, an average door hinge height is 5 inches, with a 10-inch gap between the bottom of the door and the bottom of the hinge.
Step 3: Proper Positioning of the Door and Pencil Trace
Stack two sawhorses on top of the door to hold it in place. Turn the door so that the inside is facing outward. This implies that the hinge cylinder will protrude upward.
Place the hinge level with the border to make it seem like the door has already been hinged. Locate it by following the pencil markings. Pencil-trace the hinge’s perimeter. Remove the hinge.
Step 4: Cut to Fit Properly according to the Measurement
You may trace the door’s hinge lines at an angle of around 90 degrees to the door’s face using a chisel’s tip. The chisel bevel side up is what we recommend. It’s time to start cutting through the grain of the timber and pull out a trace to hinge plate thicknesses with a hammer on the chisel’s backside.
The bottom of the mortise should be level, and the sides of the tracing should be clean and straight after multiple cuts across the drawing.
A “U” shaped hinge tracing will be used. The “U” in the “U”-shaped hinge plate perfectly fits. The door jamb has a “U” form and the other hinge plate slots into the “U” shape. For the plate to fit inside the “U,” you’ll need to chisel or “mortise” a hole between both the horizontal lines.
Step 5: Place the Hinge in Mortise and Finish the Task
Put the hinge in the hole you just made in the mortise. Otherwise, surgically remove any high places, edges, or angles hindering the hinges from sliding flat into the mortise with the aid of a chisel.
The hinge must fit flat and snugly into the mortise before it can be installed, so test it and cut it again until it does. To attach the hinge to the door, use a cordless screw gun and 1-inch brass screws.
How to Easily Mortise A Door Hinge?
You can cut a latch mortise on a door using a power tool. Chisels, knives, and a hammer are all you’ll need. On the other hand, the hinge may be made using a mortising jig or router. So, what is the easiest way to mortise a door hinge?
When you mortise a door hinge with a router, that is the easiest way. A jig attached to the door guides the router as it makes its way through it. Using this procedure, you may quickly and easily cut many mortises.
- Ensure that the door’s hinge is flush with the frame.
- Mark The Hinge With A Pen.
- Mortise Depth Marking is the third step.
- Remove the Mortise by Chiseling Out the Line
- Remove the Waste with a Chisel
- After Chiseling, it’s time to clean up.
How to Cut a Door Jamb?
To learn how do you cut a door jamb for a hinge, you need to know some factors. First, measure the opening width you need to create and subtract 1 inch. This will give you the size of the door jamb you’ll need.
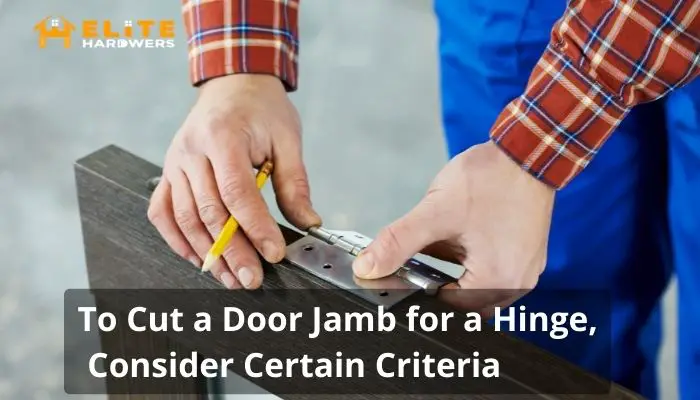
Second, use a router bit to cut the jamb. Finally, use a chisel to finish the job.
Yet, if you are looking for a kitchen cabinet, you might be wondering, are Ikea kitchen cabinets good? You can check out the necessary reading to solve this.
Final Words
In conclusion, knowing how to mortise a door jamb hinge will help you install this type of hinge on your door. It is a reasonably straightforward process that can be completed in a short amount of time. Be sure to follow the steps outlined in this article so that you can successfully install your door jamb hinge.
Besides following the steps, keep an eye on the additional information that might come in handy during the installation process.